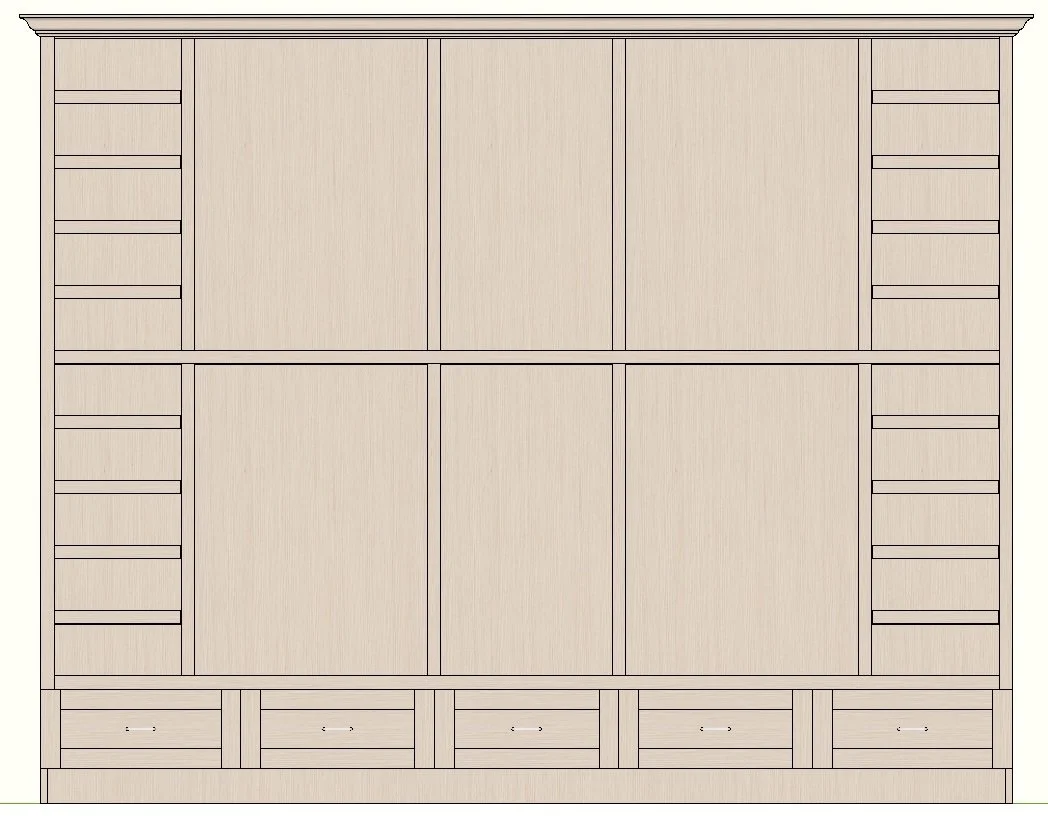
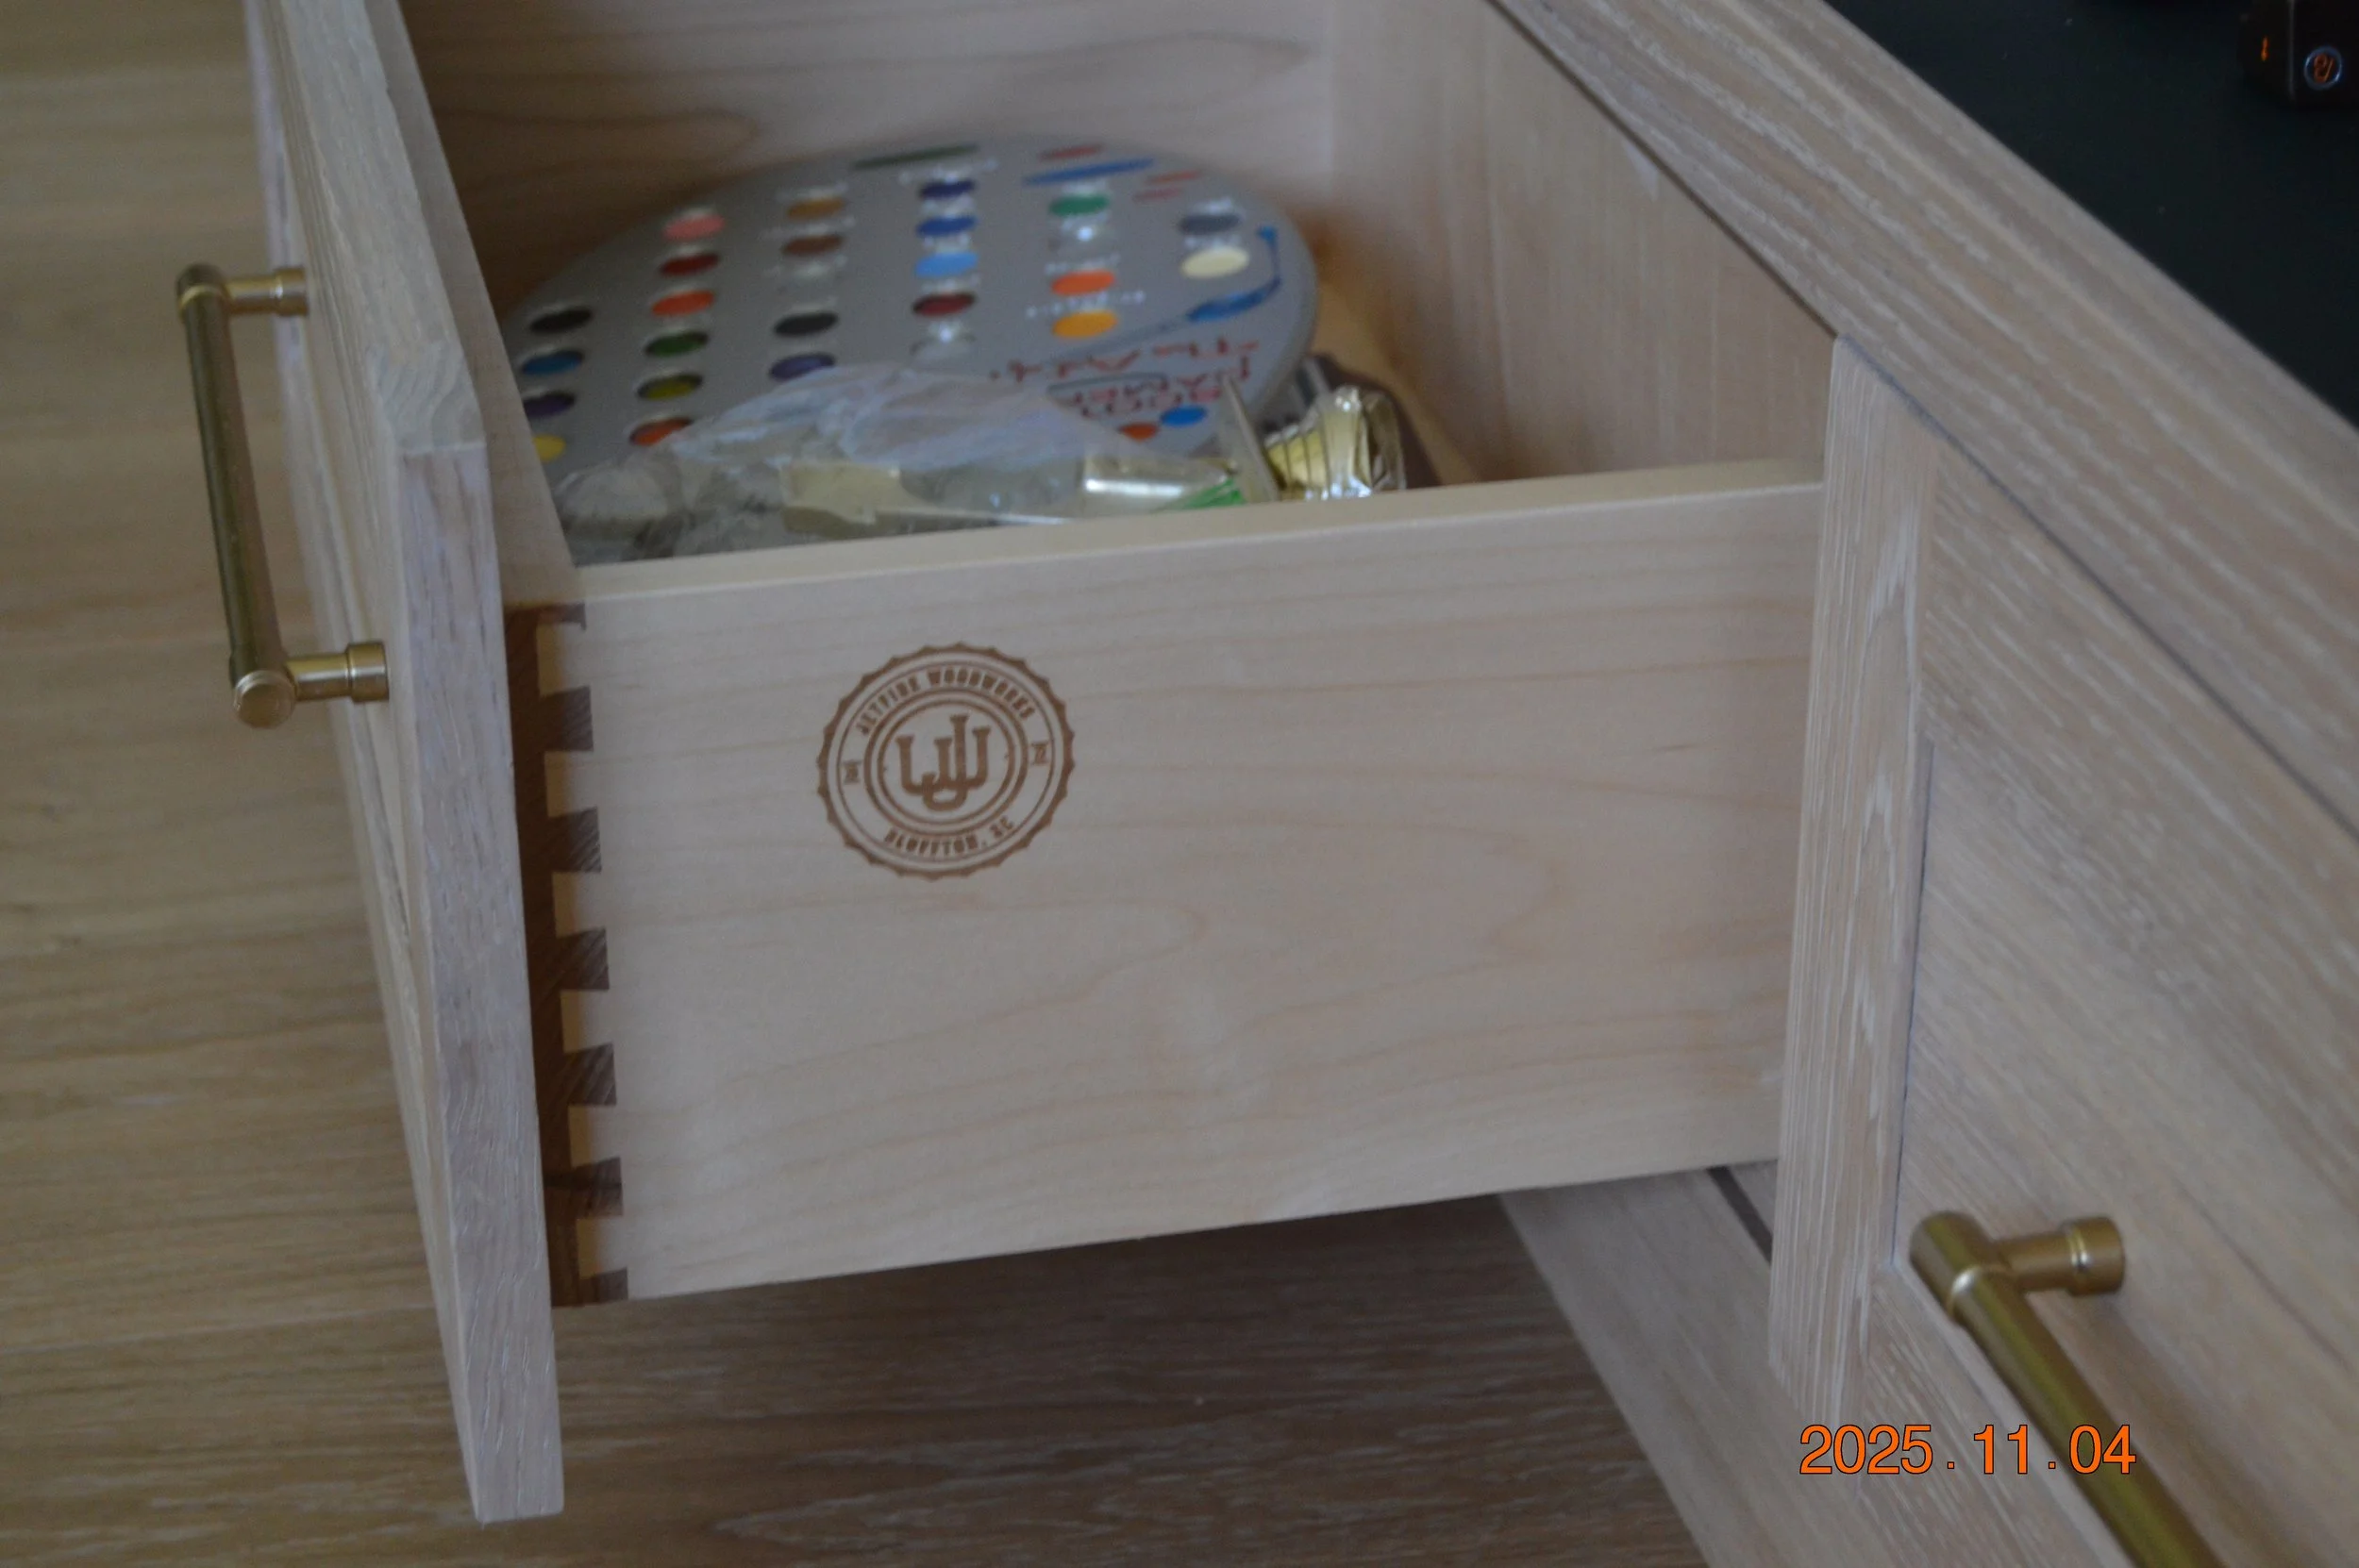
This is my largest project to date. All these cabinets are in the clients new state of the art golf simulator. All the cabinets are made of white oak. You can click on each photo for the full size

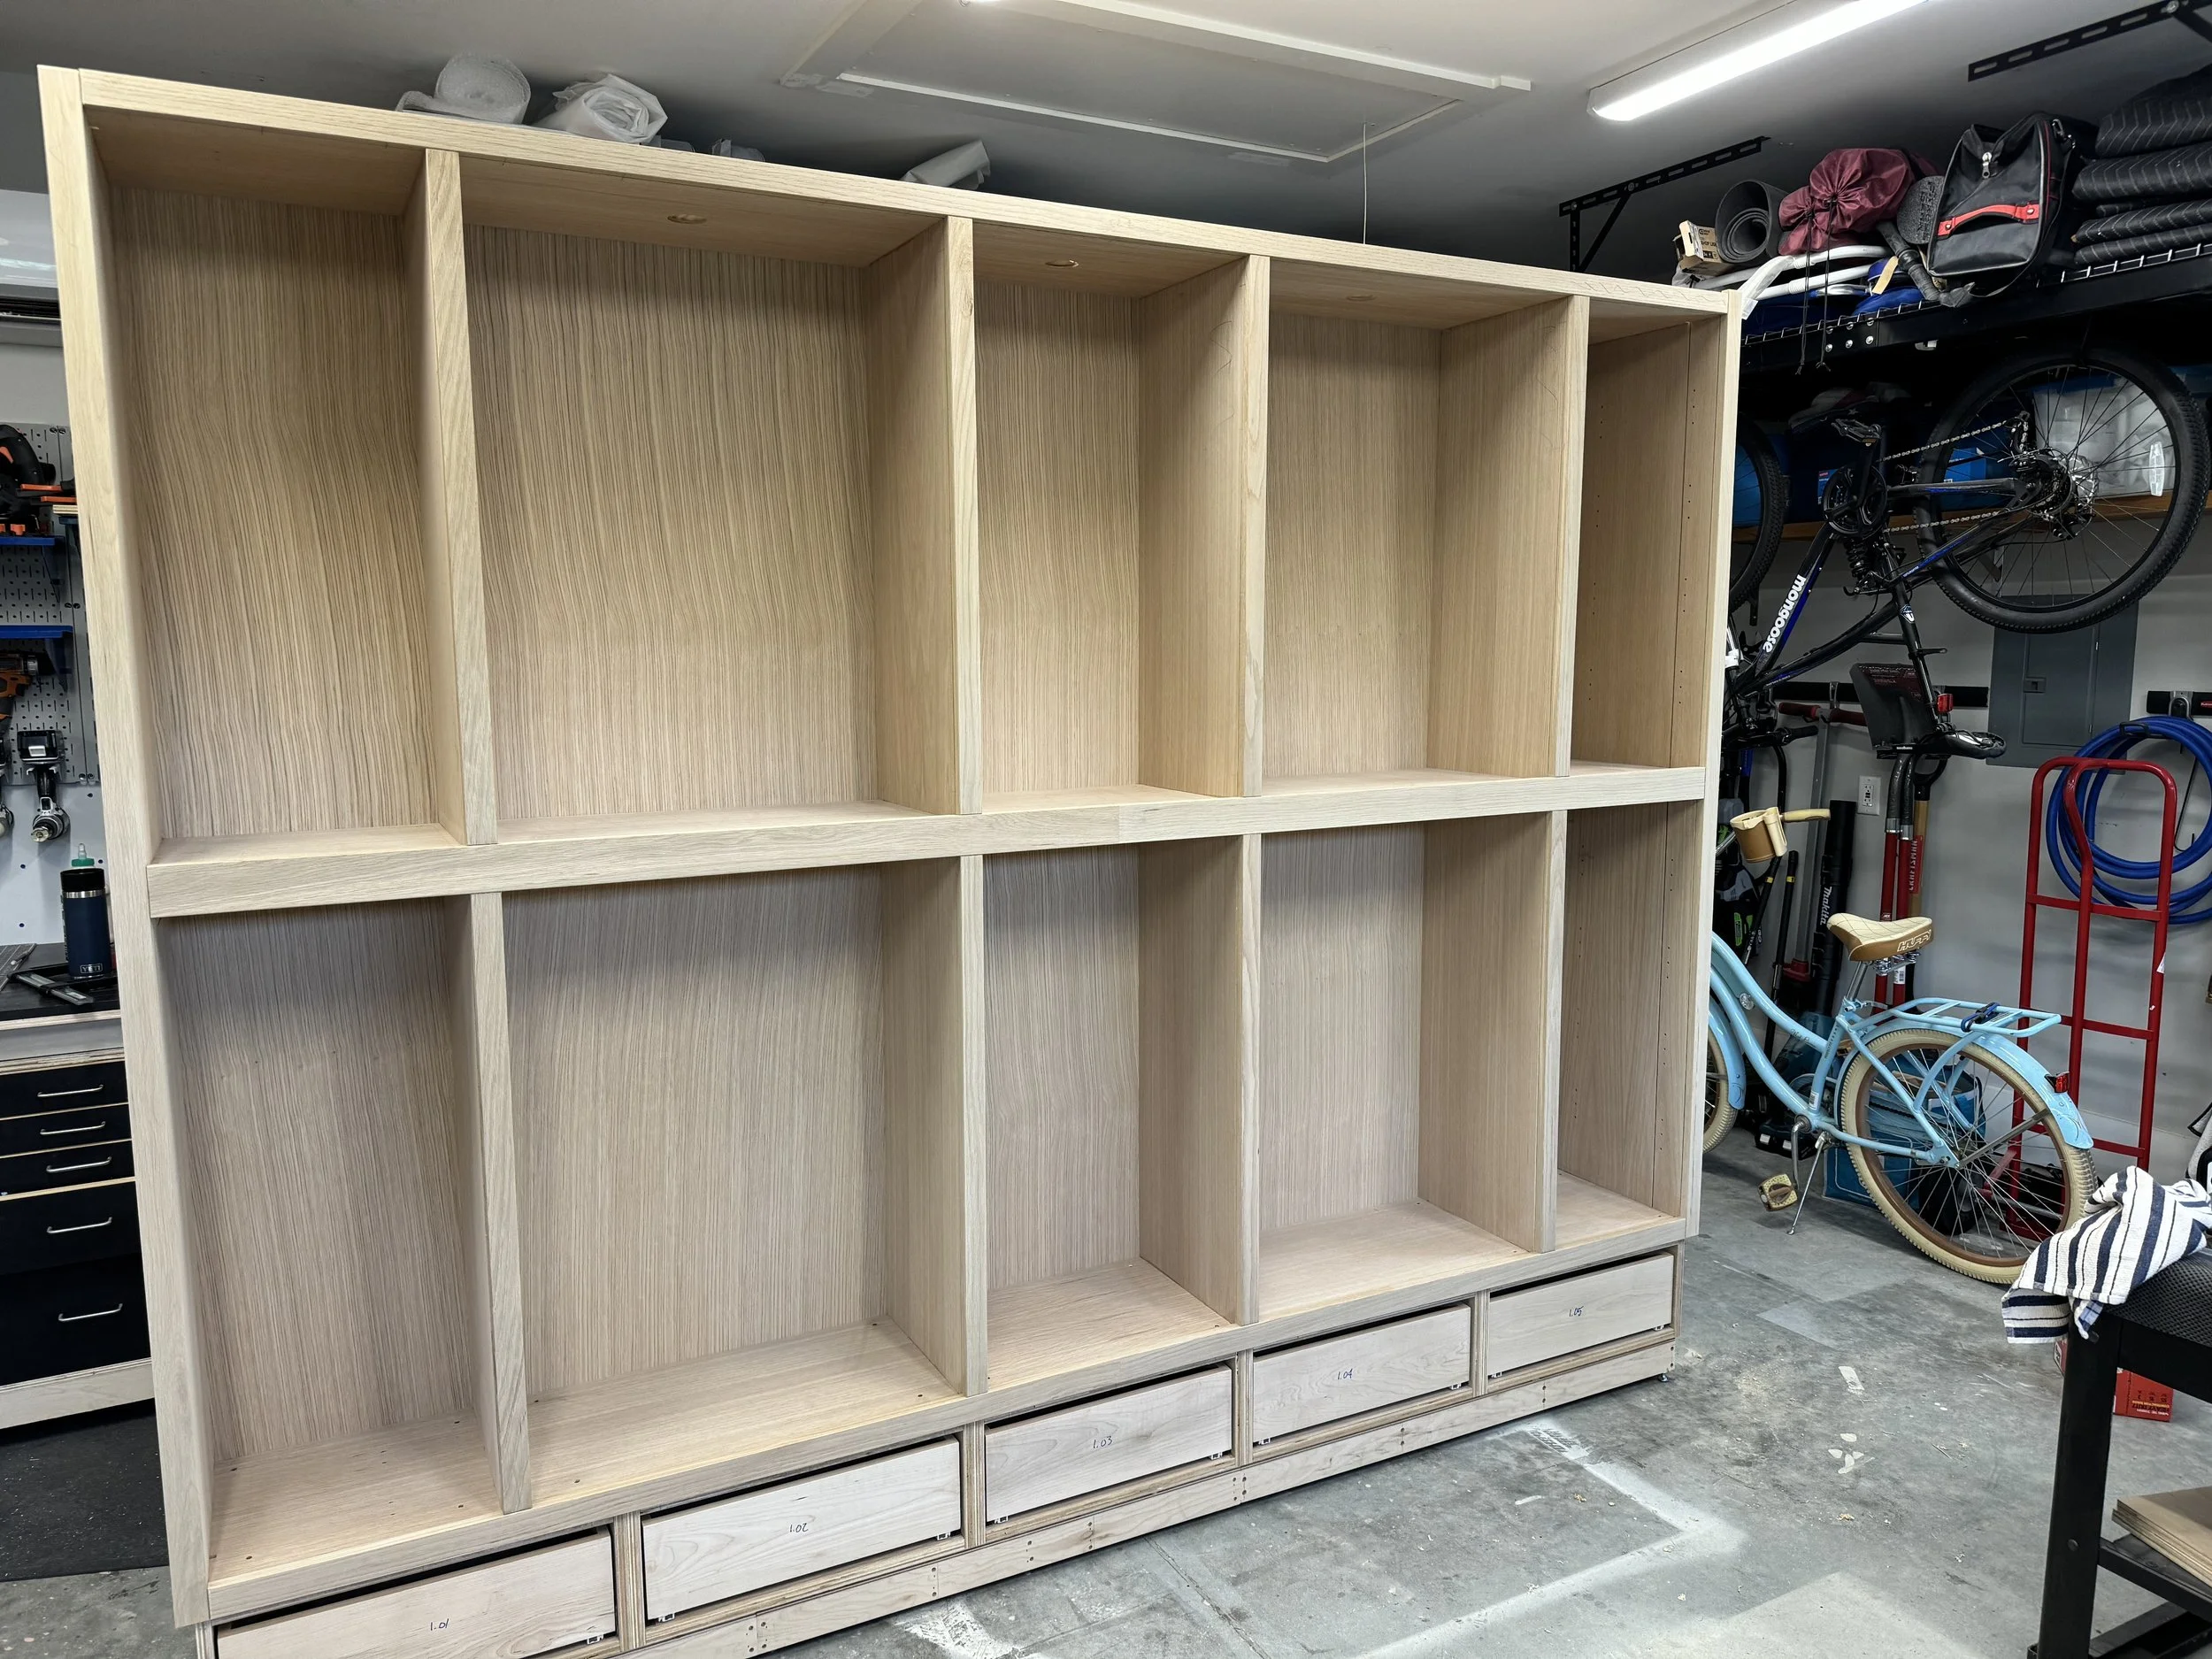
The case consists of 15 separate components. Here you can see all the pieces clamped together to ensure it all lines up. It took the CNC approximately 4 1/2 hours to cut out all the pieces you see here.
In the pictures below, you will notice a few key details. For example, the Face Frame. Normally the face frame is assembled in the shop using pocket screws and glue. This creates a tight joint and the joint lines are nearly invisible. However, I had to assemble this face frame on site and wouldn’t be able to get the joints super tight. So, I purposely chamfered the edges so the gaps are all the same.
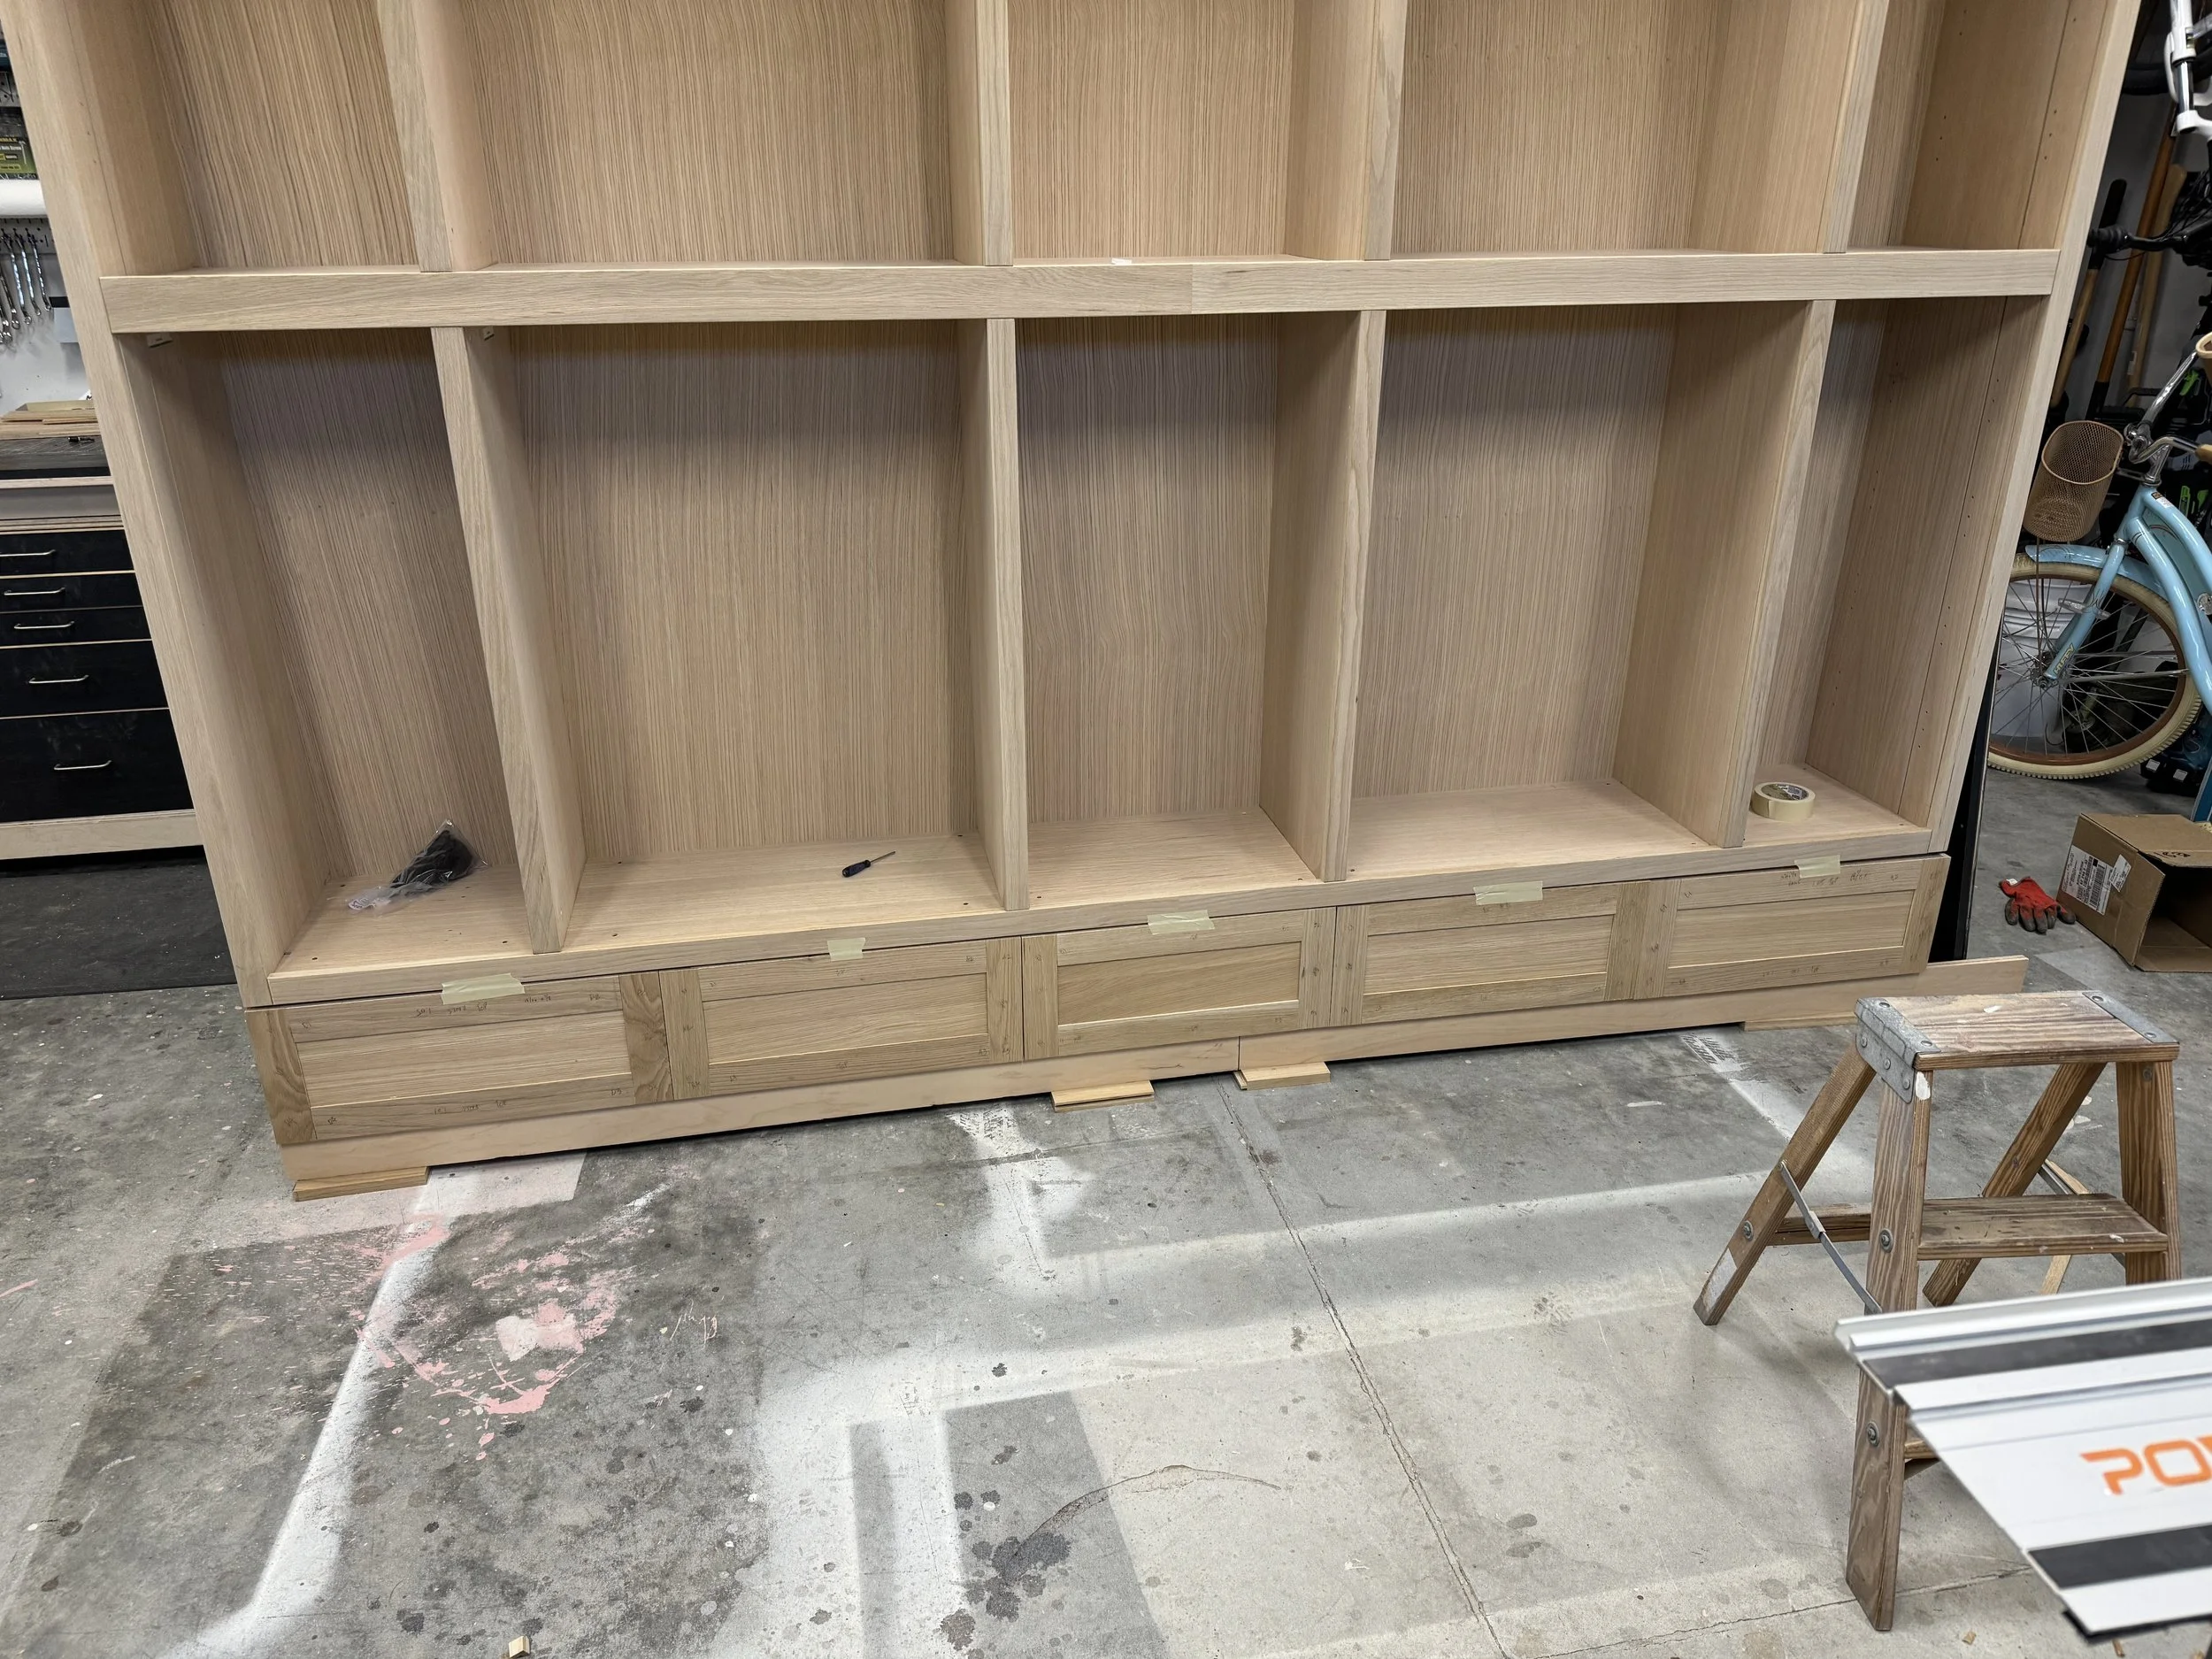
Installed Face Frame. I used a special biscuit to attach the face frames, similar to a bisco from Lamello. Notice the joint on the long rail in the middle. You will see below a picture on how I hid this.
Drawer Fronts sizing
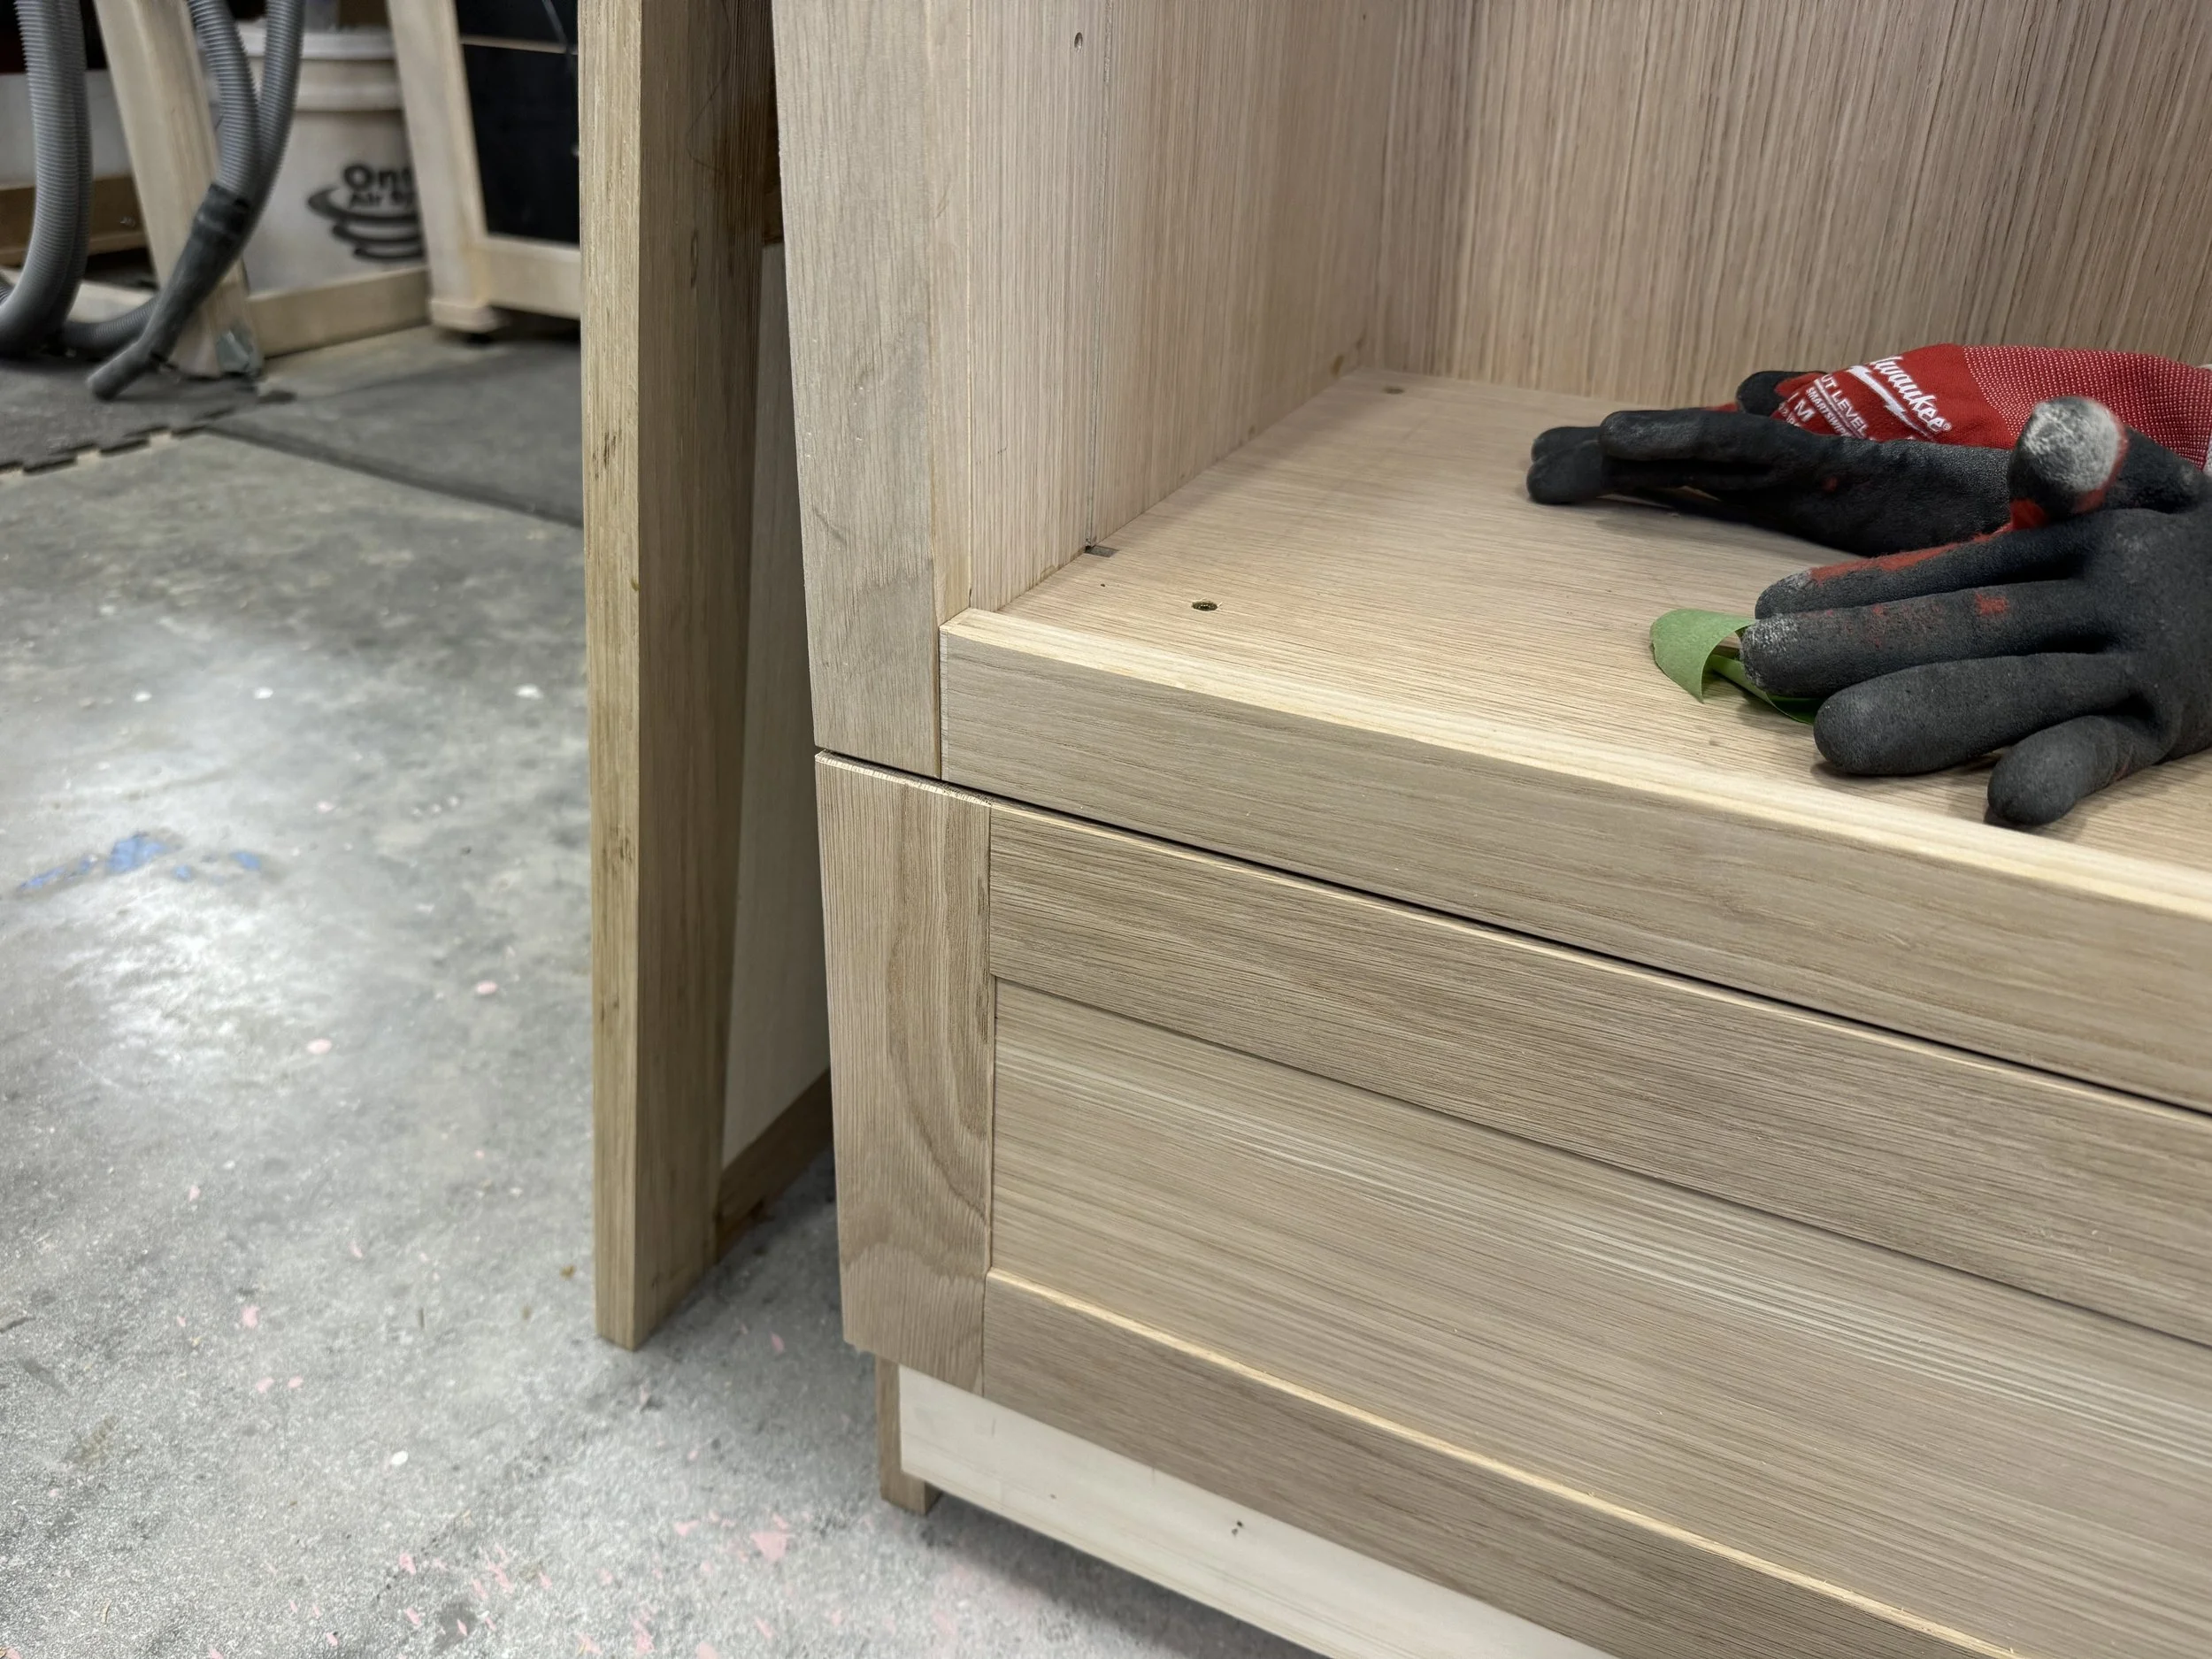
Face Frame Detail. Notice the chamfer I put at all the joints. This is because I need to assemble on site.
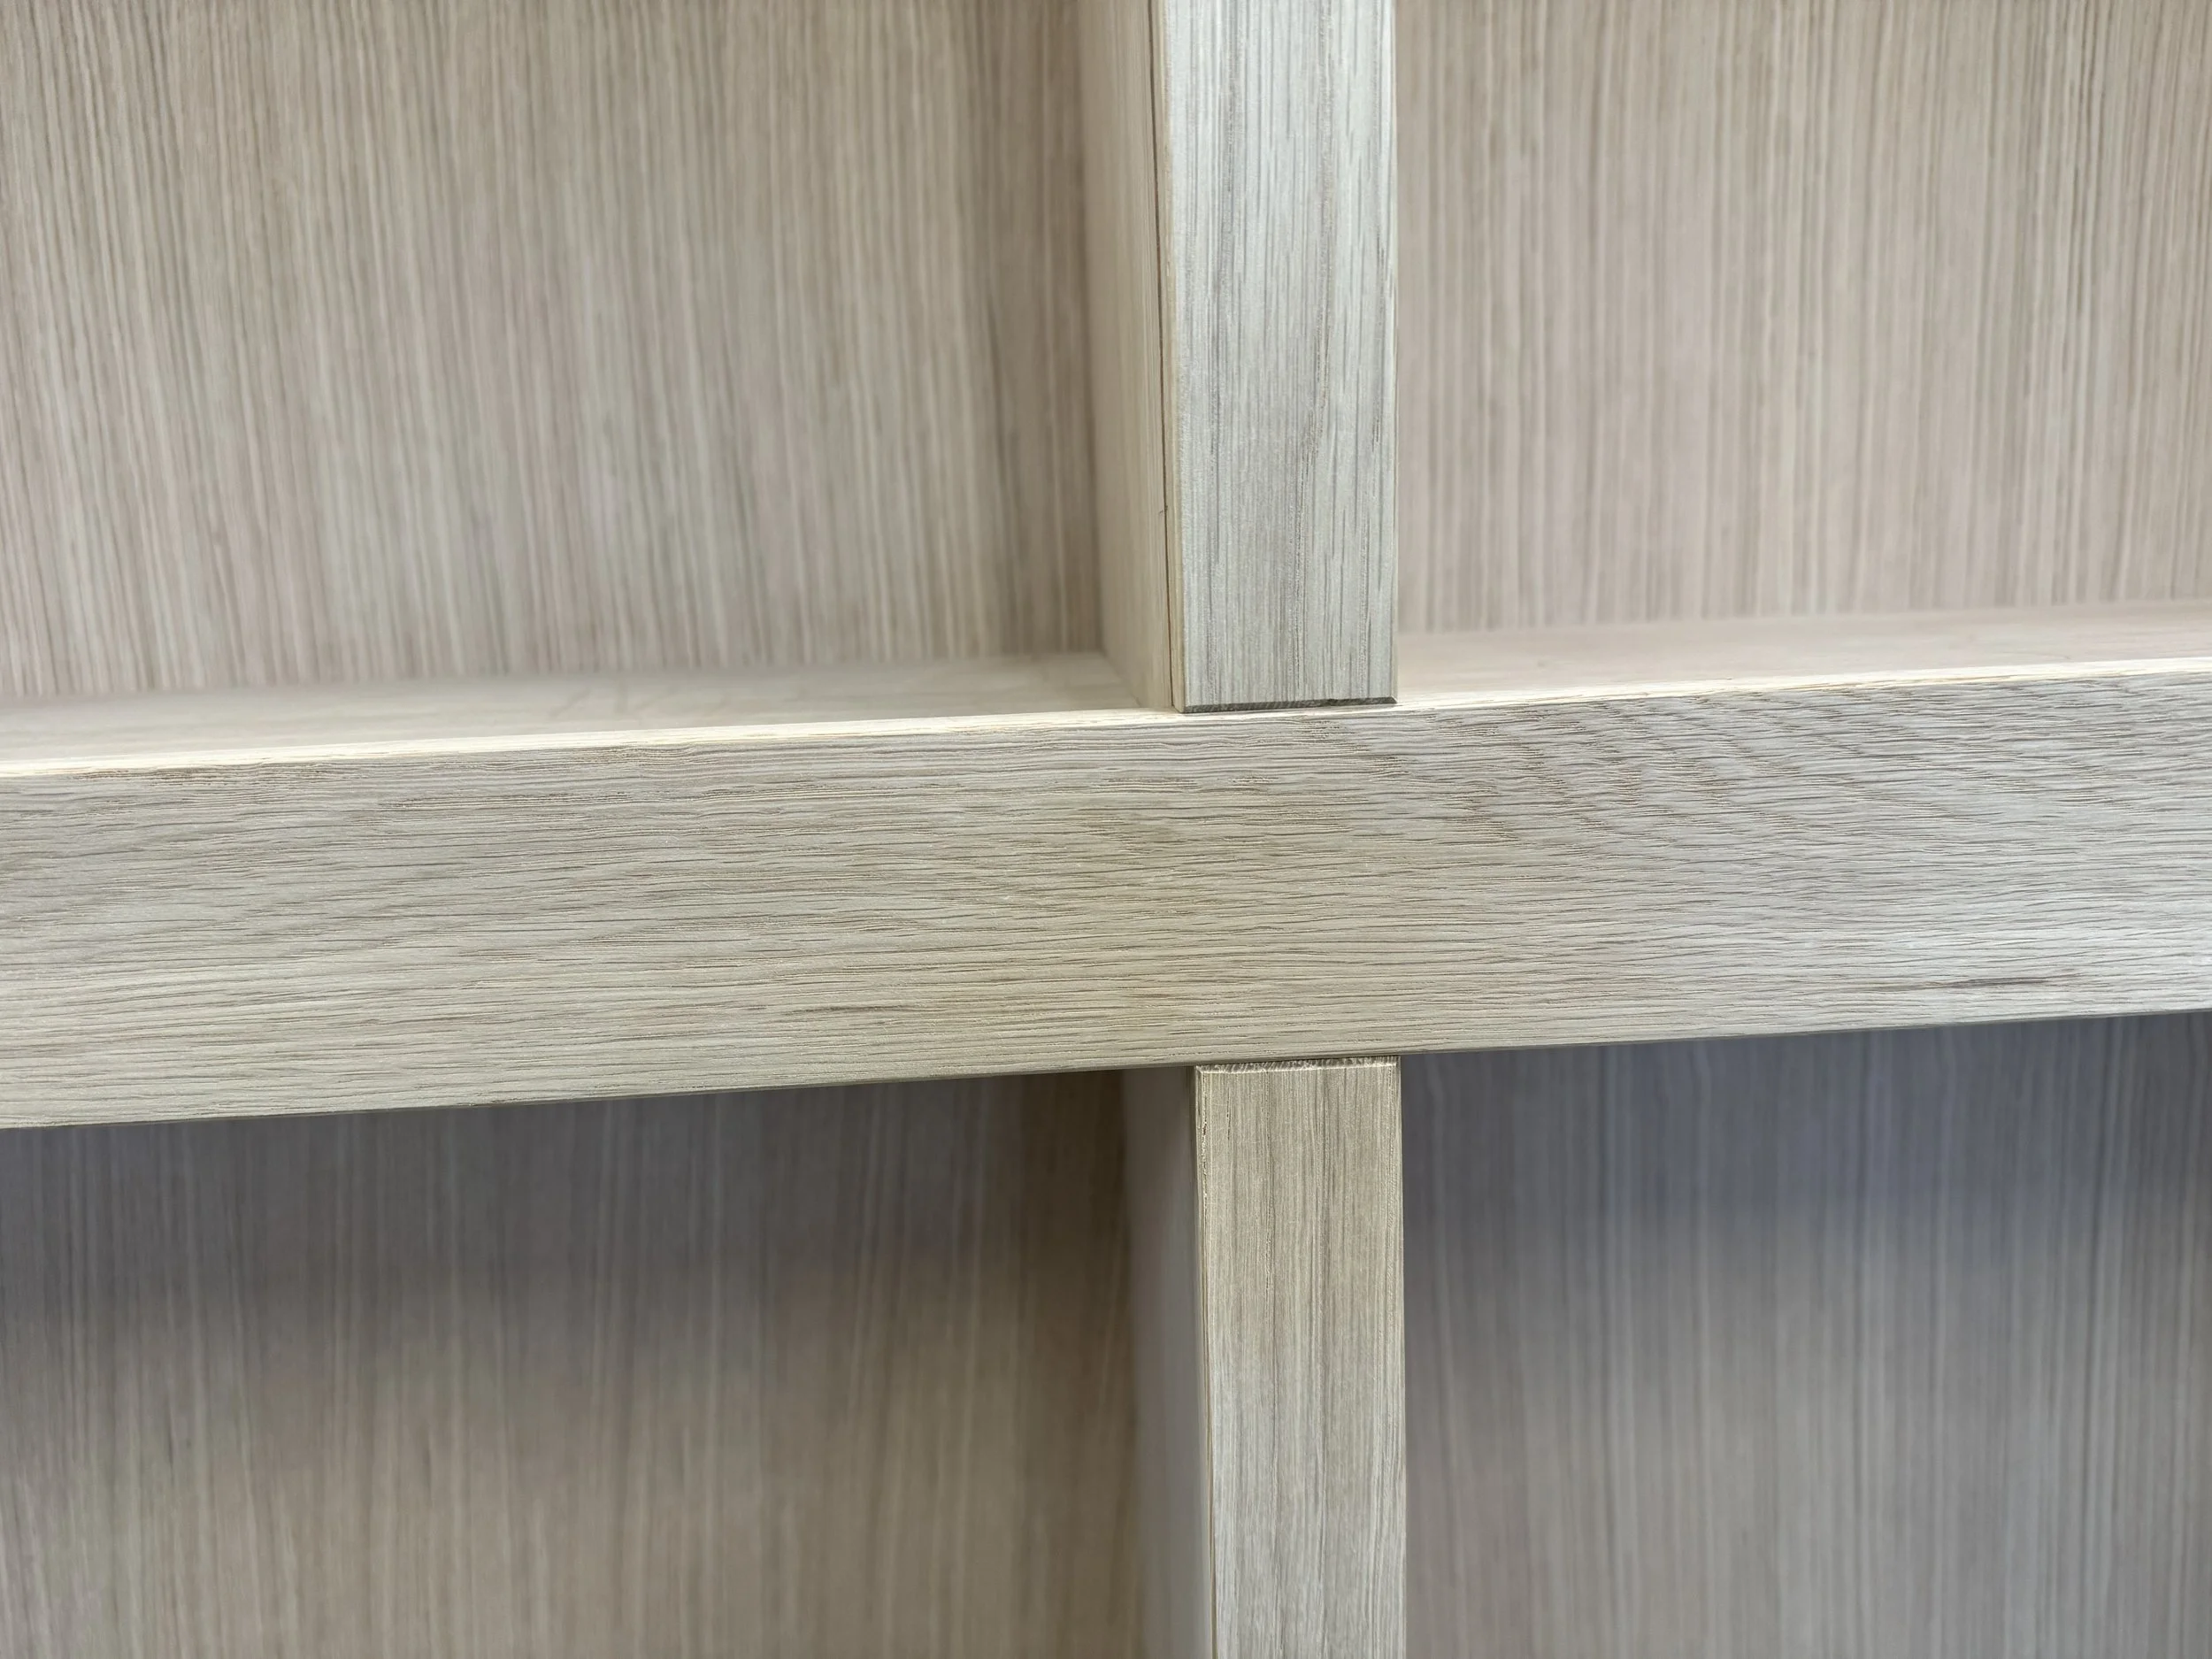
Normally, when you glue your face frame together, you get a perfect joint. However, due to the size of this face frame, I had to install and glue in the field. So, I created a chamfer detail for all the joints so the gaps would all be consistent and purposeful.

Four cabinets housing all the Simulator Components.
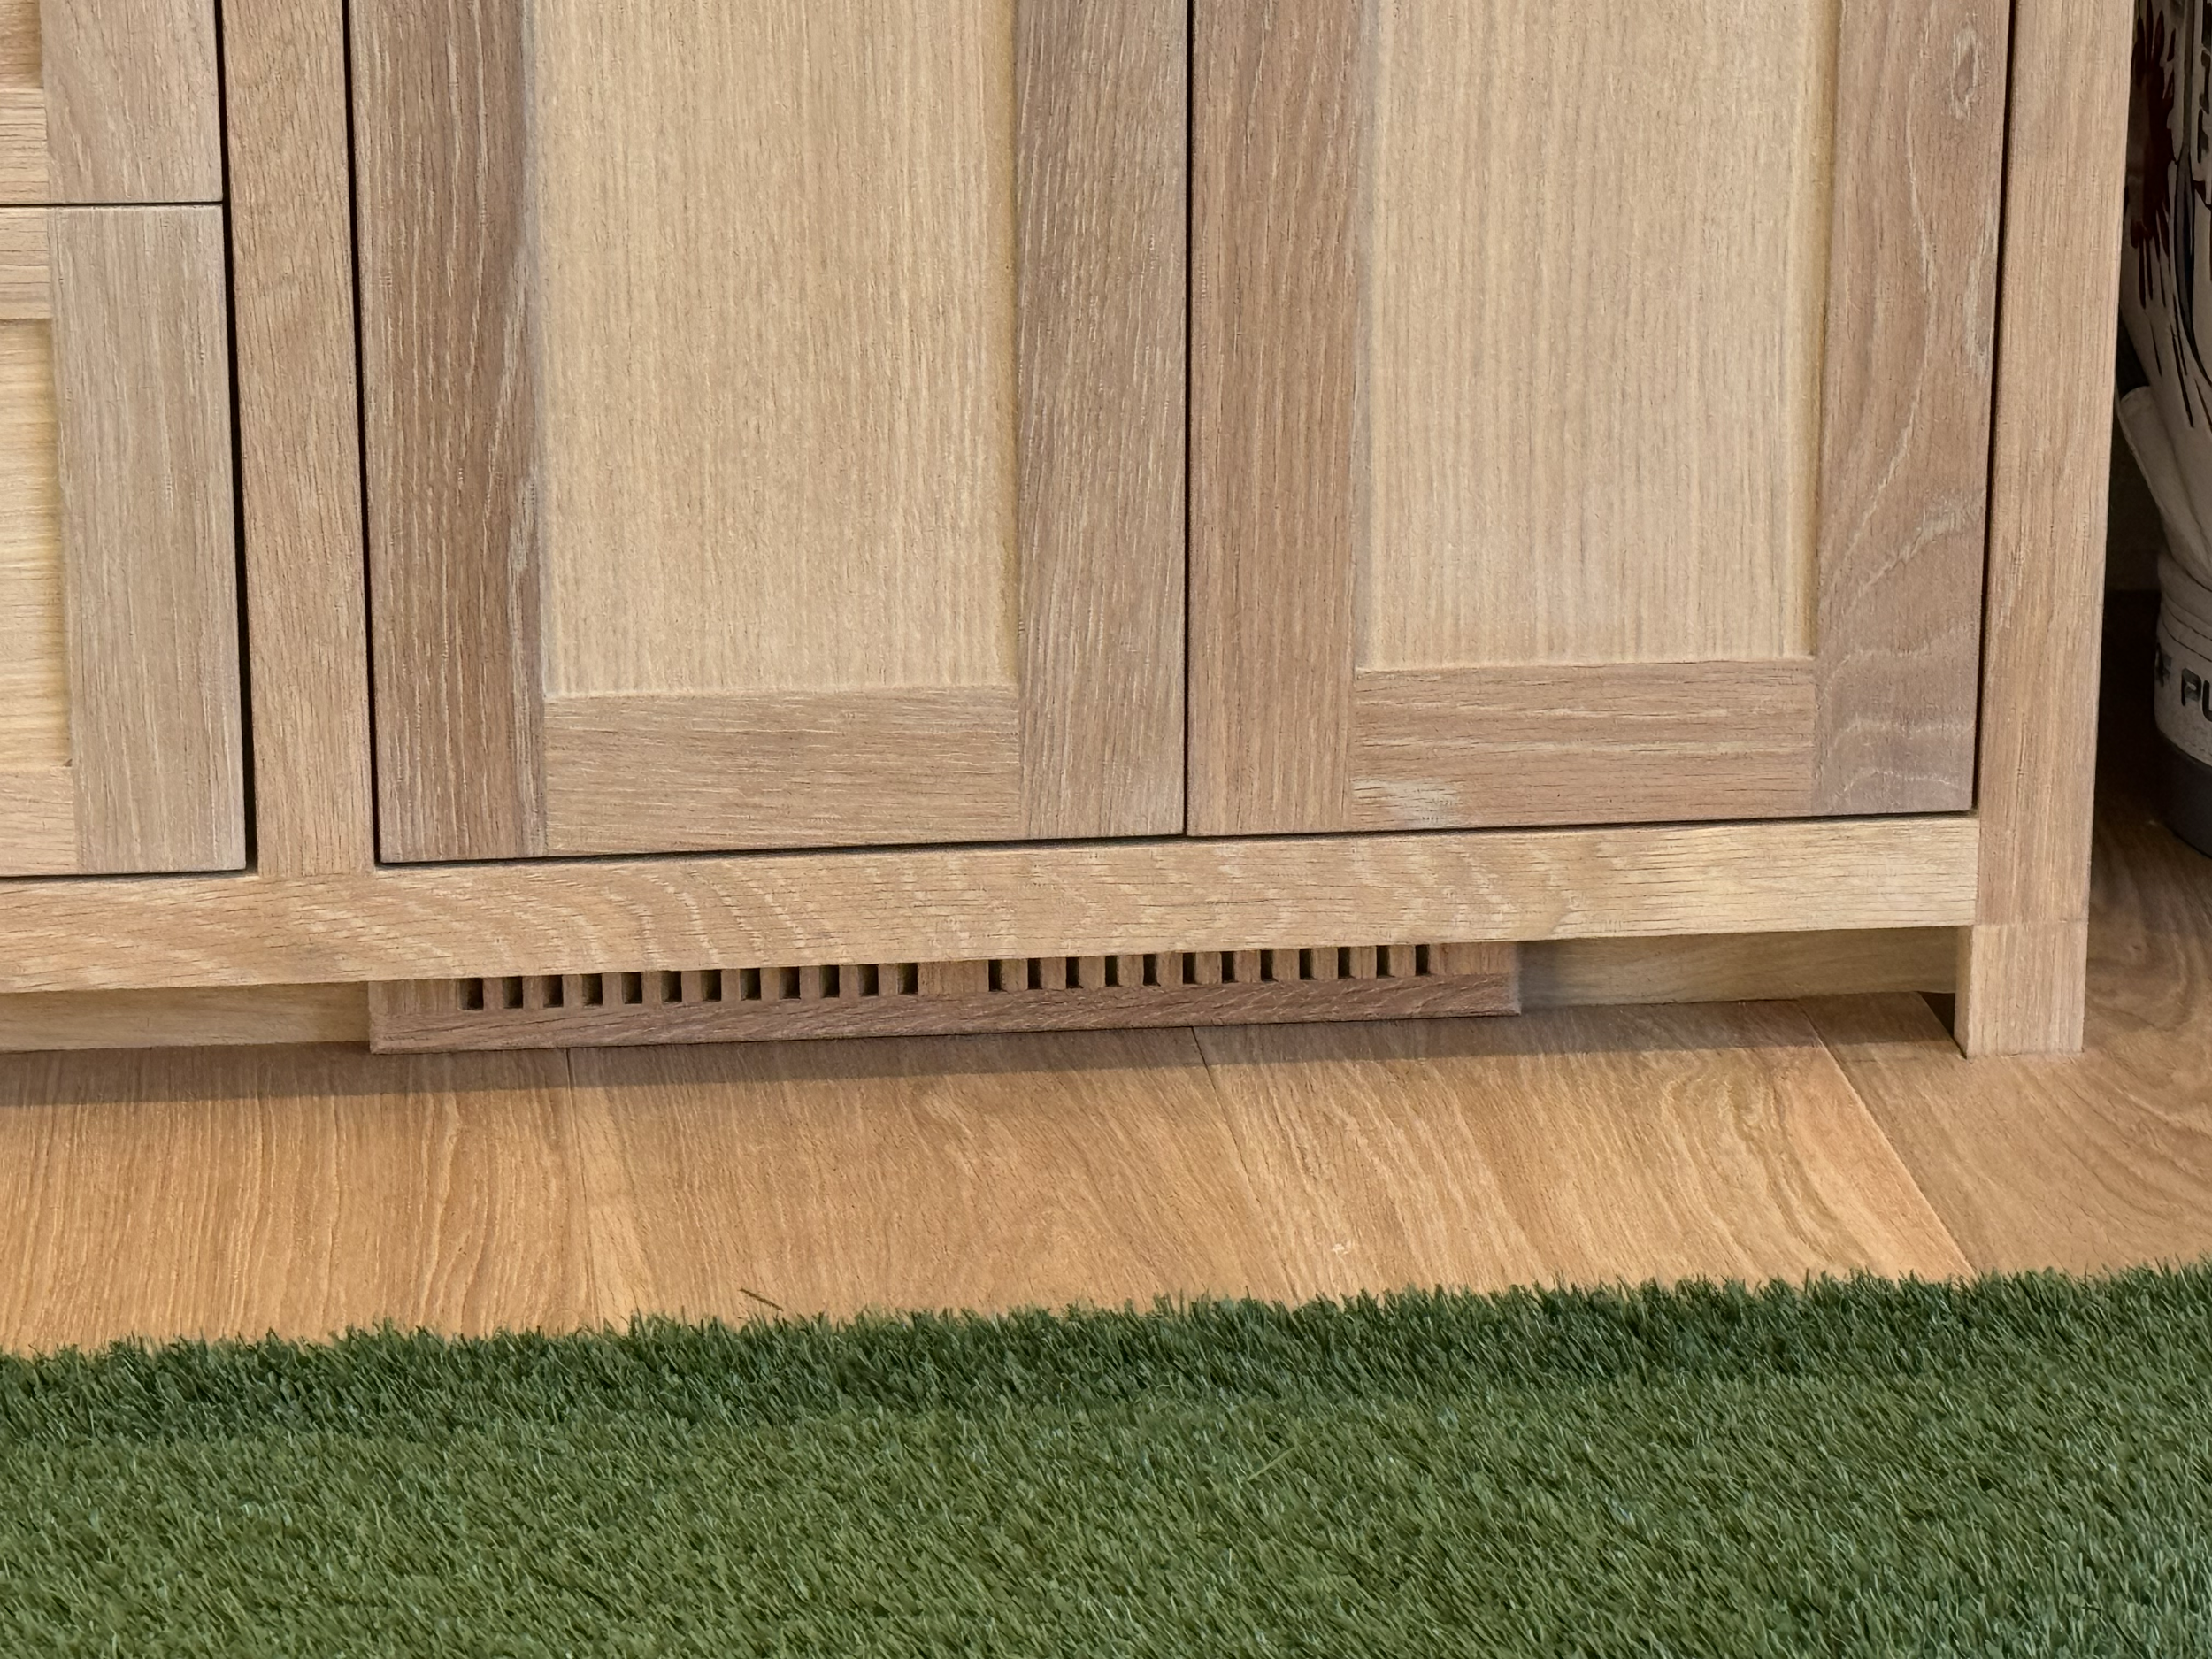
HVAC Vent Installed in Toe Kick

You may have noticed the cables in the first picture where the A/V guys used rubber to try and hide them. I decided to use some scrap white oak and create my own cord hide.
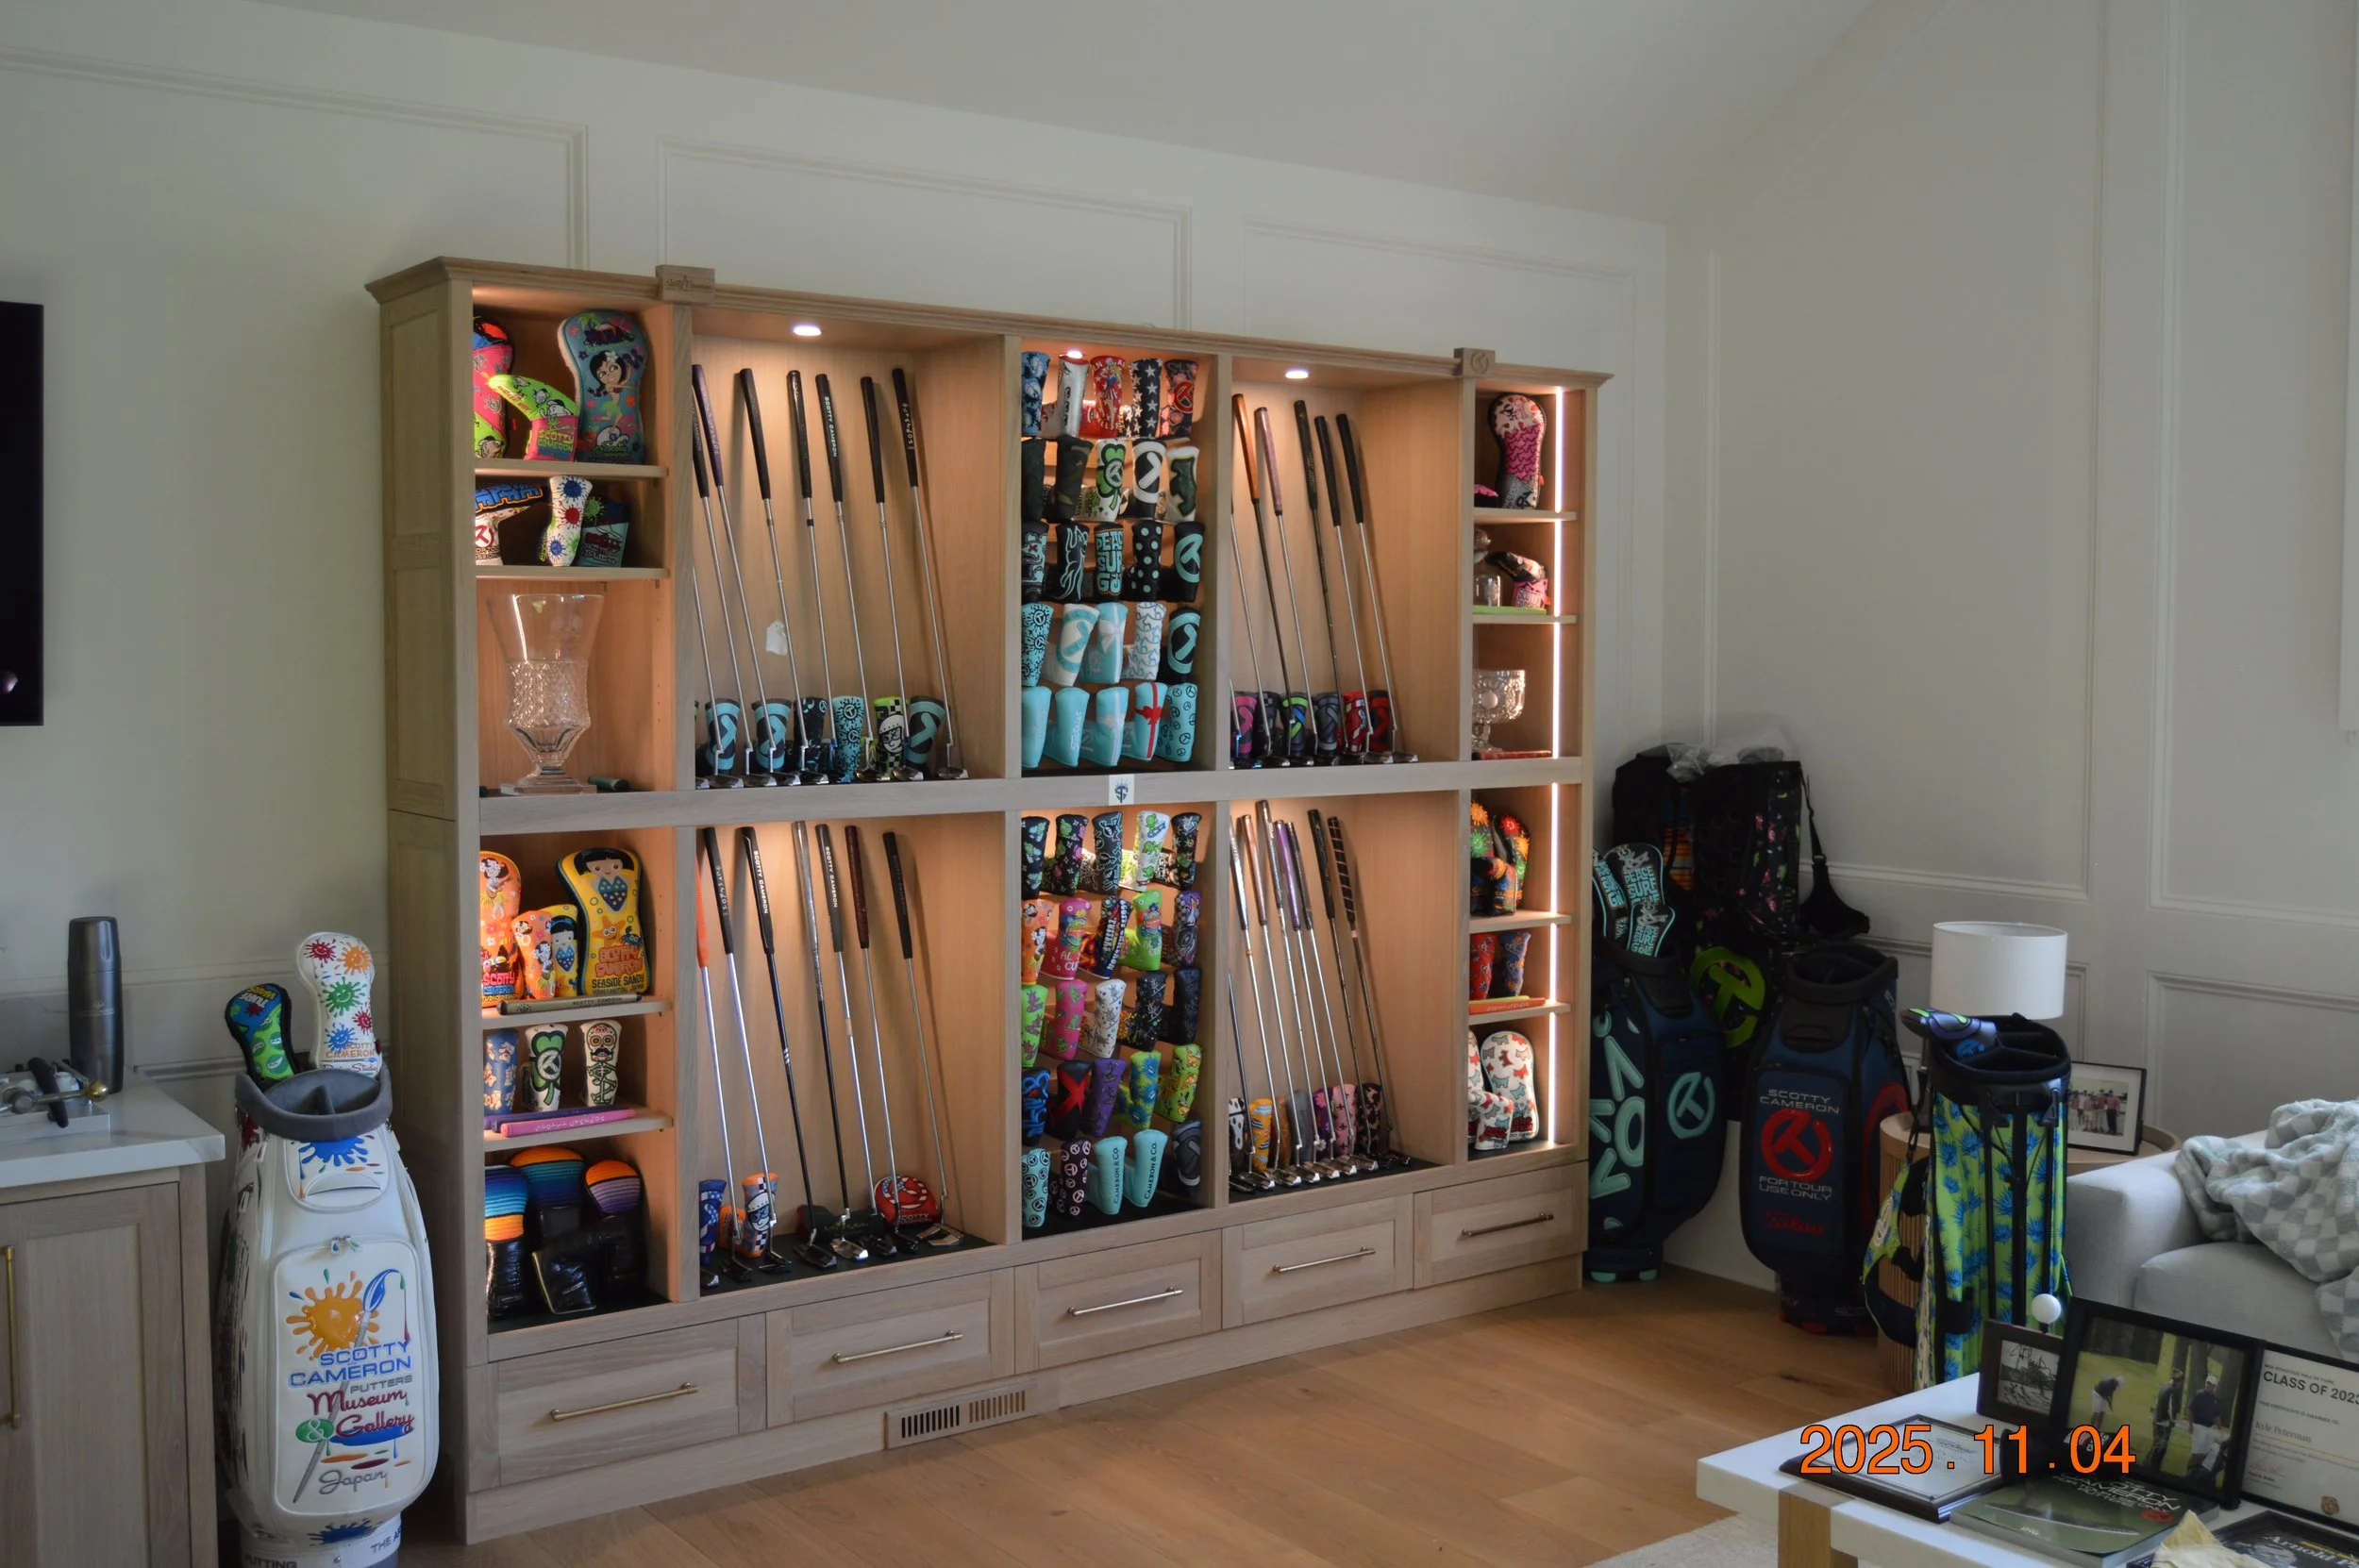
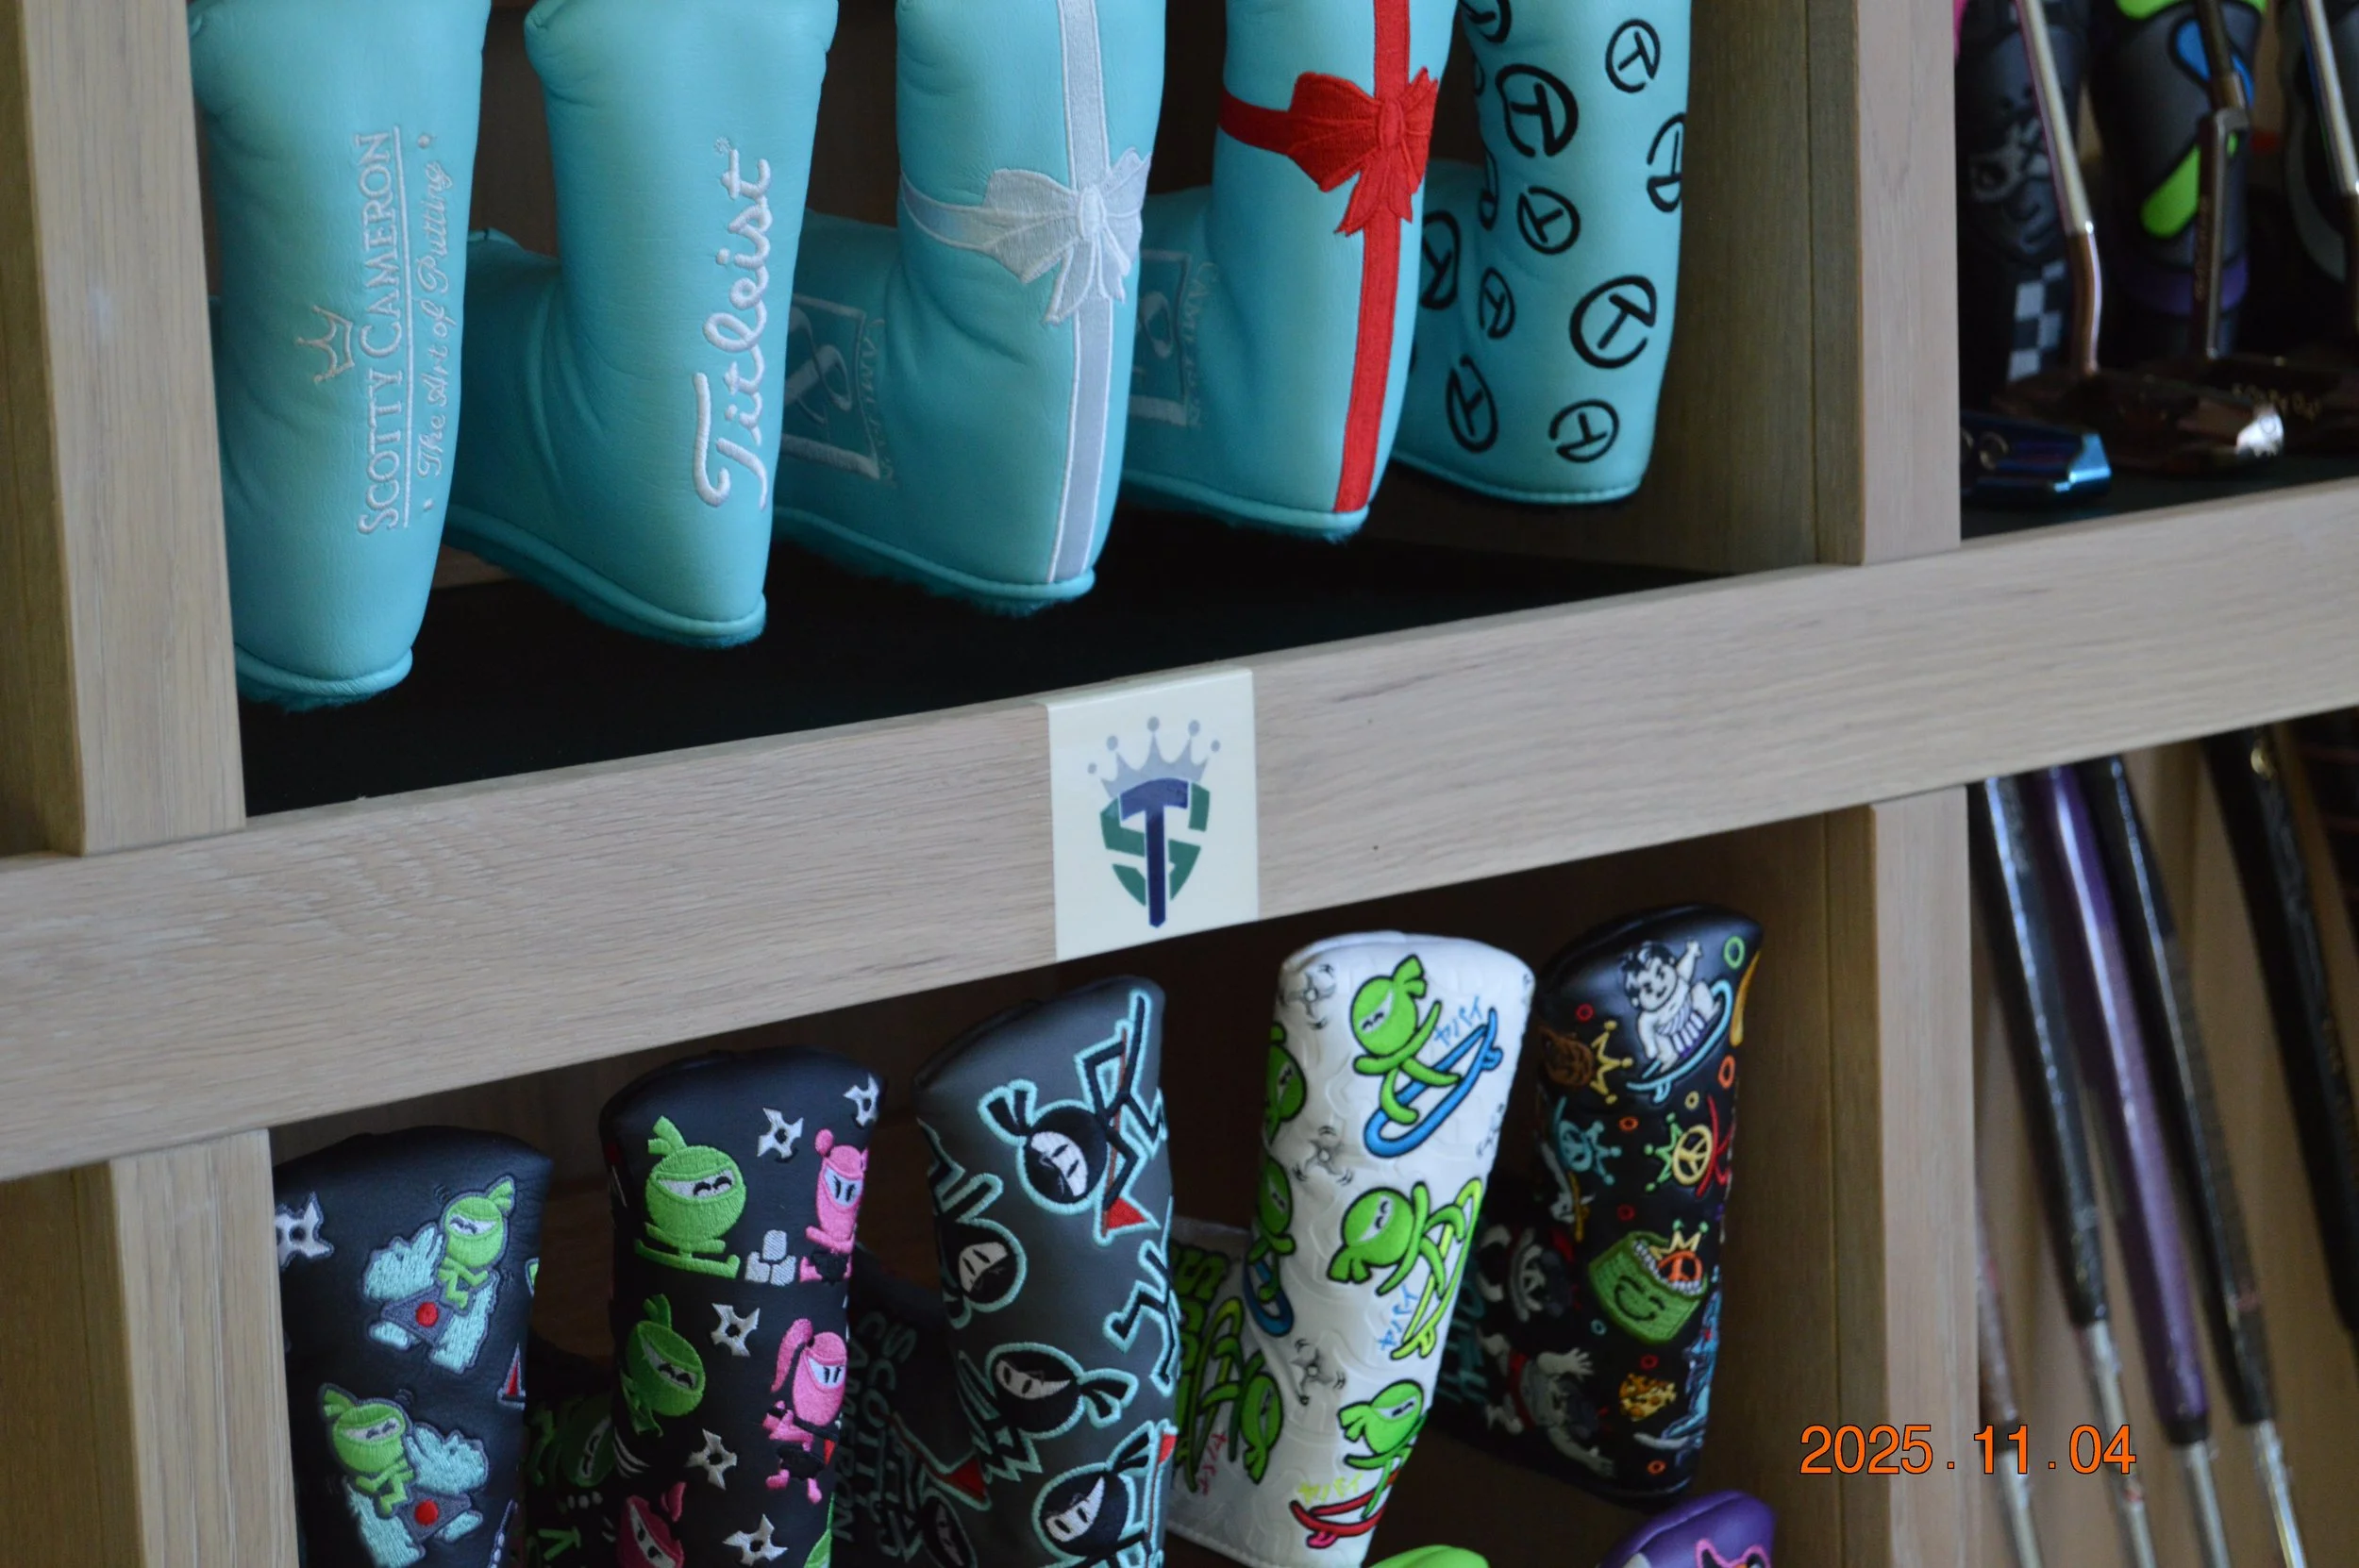
Putter Display Case Finished.
To hide the splice of this long face frame rail, I epoxied the clients logo at the joint.

Added a small logo to compliment the putters manufacturer for all the customers putters.
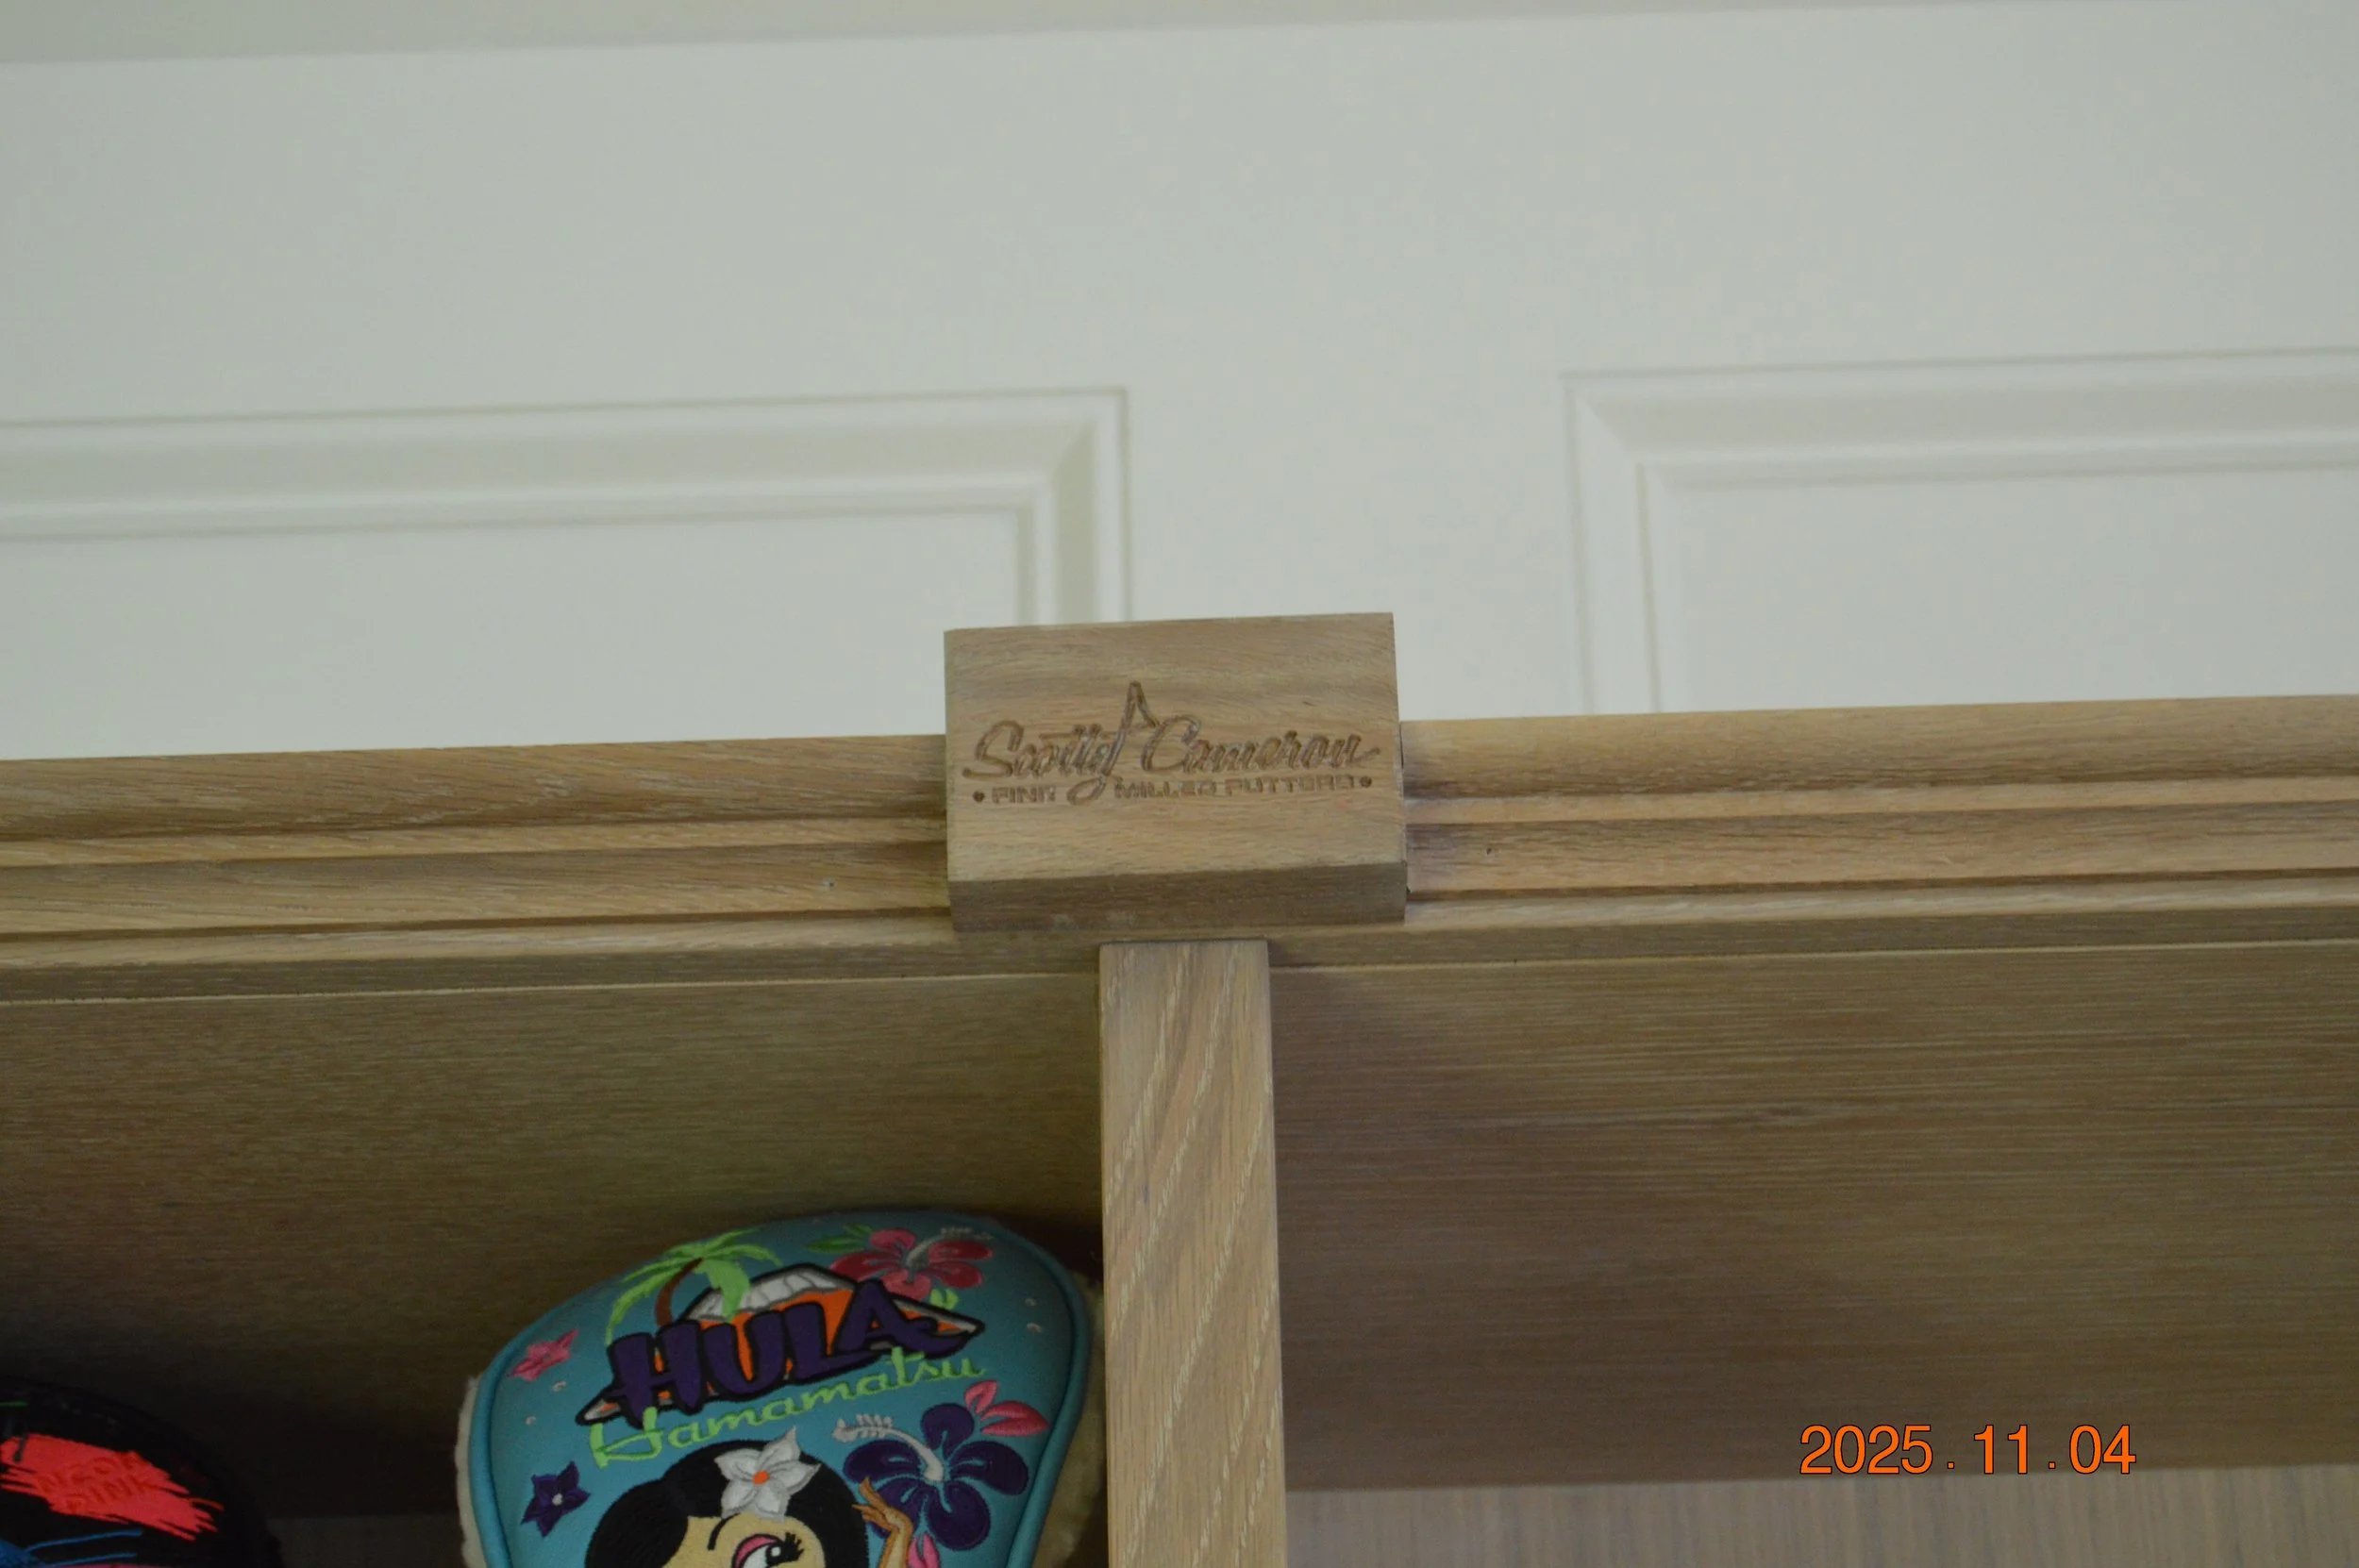
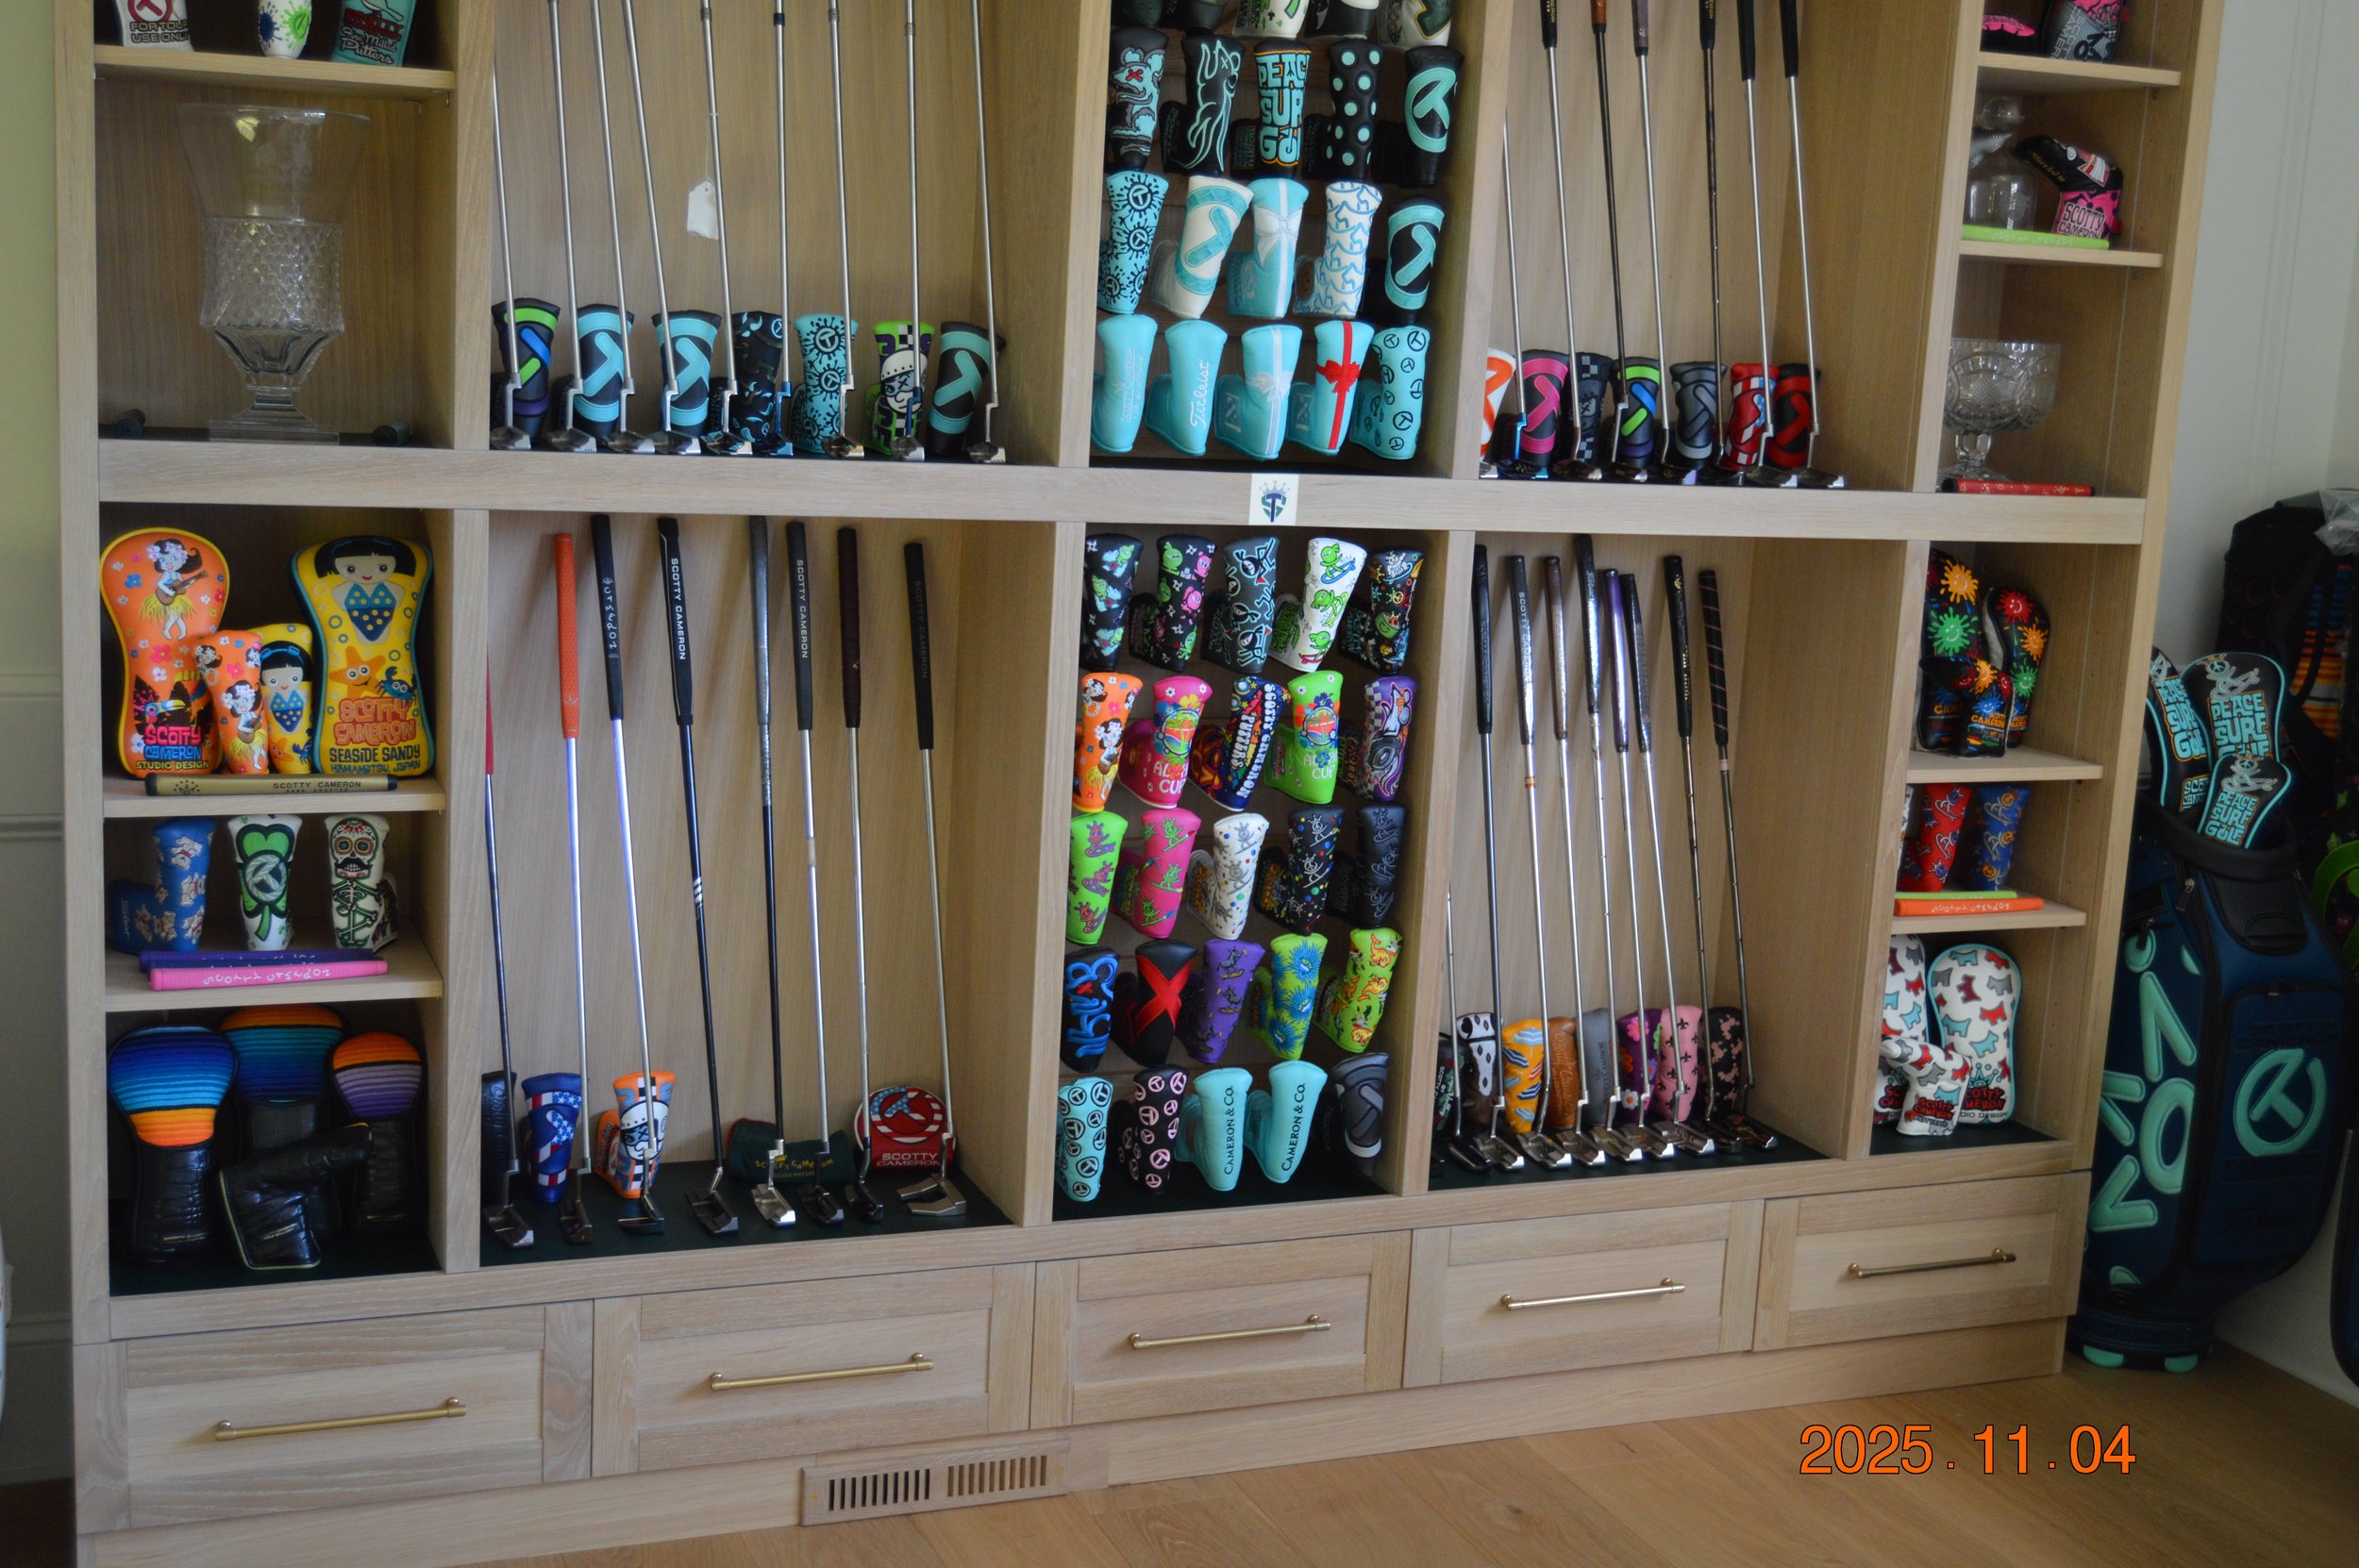
Scotty Cameron Fine Milled Putters.